Materials needed:
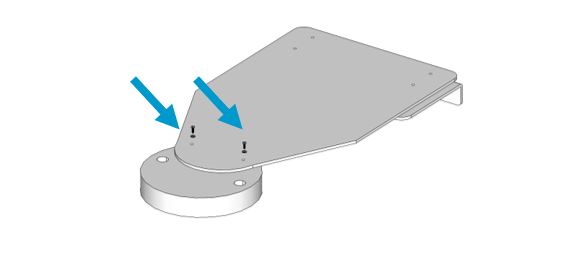
The support comes with 6 screws to attach the bracket extension to the tube lid and to the wall support.
Depending on the wall type where the support will be fixed, the studs can vary. Use 2 suitable studs and screws according to the material of the wall (see image).

STEP1. Placing the wall support.
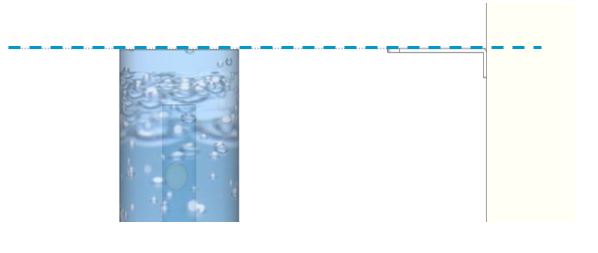
- Level the wall support with the height of the tube at its final position in the room.
- Mark the position, make 2 holes in the wall and put the studs in.

STEP2. Fix the wall support to the wall.
- Fix the wall support with the screws to the wall.

STEP2. Fix the wall support to the wall.
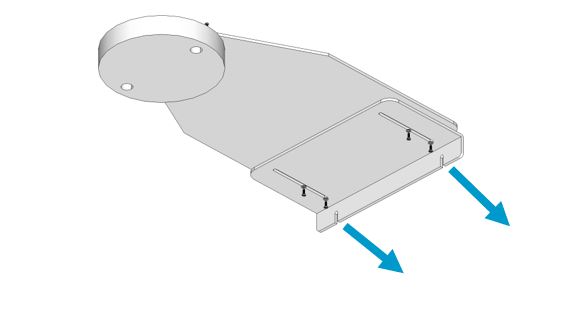
- Use the screws provided in the package to attach the lid to the extension of the bracket.

STEP4. Fix bracket extension to the wall support.
- Finally, place the lid on the tube and adjust the distance needed to attach the bracket extension to the wall support (use the provided screws).