- Products
- >
- Effects
- >
- SHX Stars
Safety warning
- It is necessary to read the entire manual before starting.
- The product should always be used under adult supervision.
- Never look directly at the laser.
- The laser has been designed for safe and trouble-free operation. Warning labels and product identification labels have been fixed on the laser, these labels should not be removed.
- To avoid possible hazardous radiation exposure, you should never attempt to disassemble or repair this product.
- To clean it, disconnect it from the power socket.
- Do not cover the ventilation grilles of the equipment.
Technical specifications
Power 240V (AC) 50 / 60Hz to 6V (DC) – 1.0A
Measures 27.68×30,48×23,87 cm
Description
Introduction
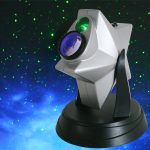
Activate the star projector in any SHX scene and enjoy an attractive sky of stars in movement. It’s highly recommended to use it in a dark environment.
Components
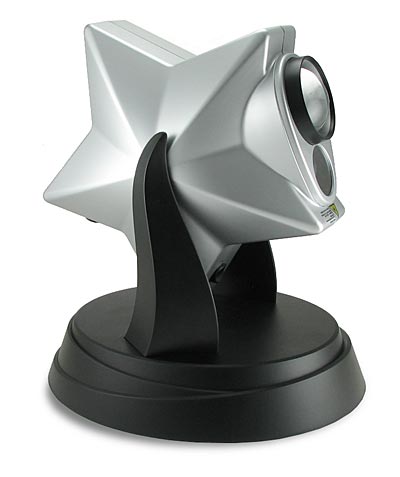
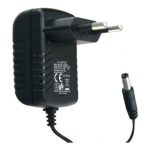 Stars proyector with power adapter
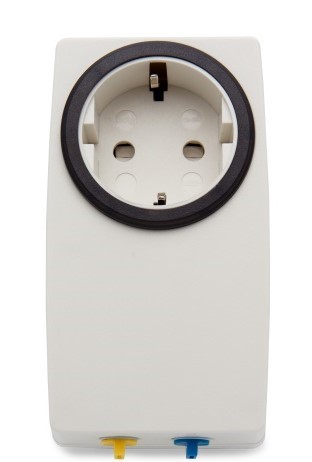 BJ-234 Enabler Socket+
Pre-Installation
For the pre-installation of the product you will need:
- Power socket 230V -50Hz.
Installation
Unpack the product carefully.
If you find any damage or lack of material when unpacking, please contact BJLive!. It is recommended to keep the boxes during the period of warranty in case it’s be necessary to return it.
Necessary elements for assembly:
In case you want to mount the star projector on the wall, you will need 2 screws with a cylindrical head and the fixing plugs on the wall.
Installation:
STEP 1. Power the device
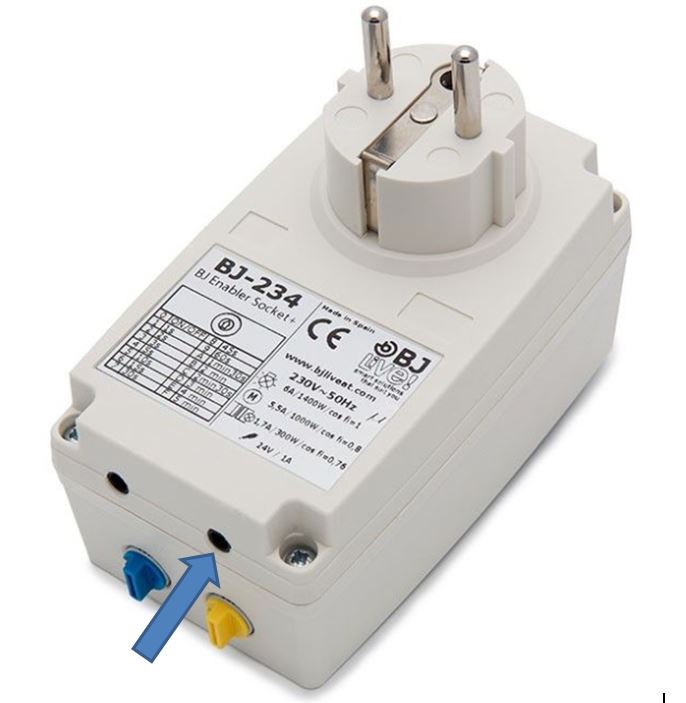
Before connecting the power adapter, check if the Socket + receiver is properly configured. The position of the wheels of the receiver must be:

- Connect the power adapter to the Star projector.
- Plug the power supply into the Socket + socket.
- Connect the Socket + device to the power.
STEP 2. Adjust nebula level
With a dimmer located at the bottom rear side of the projector, it’s possible to adjust the intensity of the nebula’s brightness, until the cloud is turned off.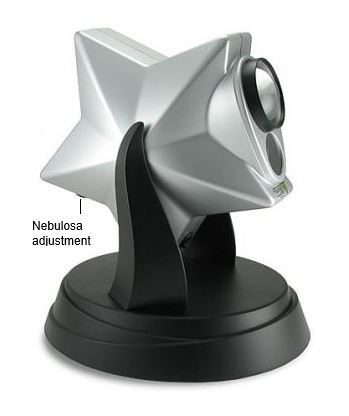
Startup
- Adjust the level of nebula with the adjustable wheel.
- If desired, you can connect a switch on the Socket + device’s switch input to control the star projector directly.
How to use
To start the star projector you can do it from the SHX application or through a switch.
With the configuration delivered from the factory, when the pumps are activated, they will start up or shut down according to their previous state.
To activate the stars from the SHX application, you can go to the “Control” tab of the SHX application:
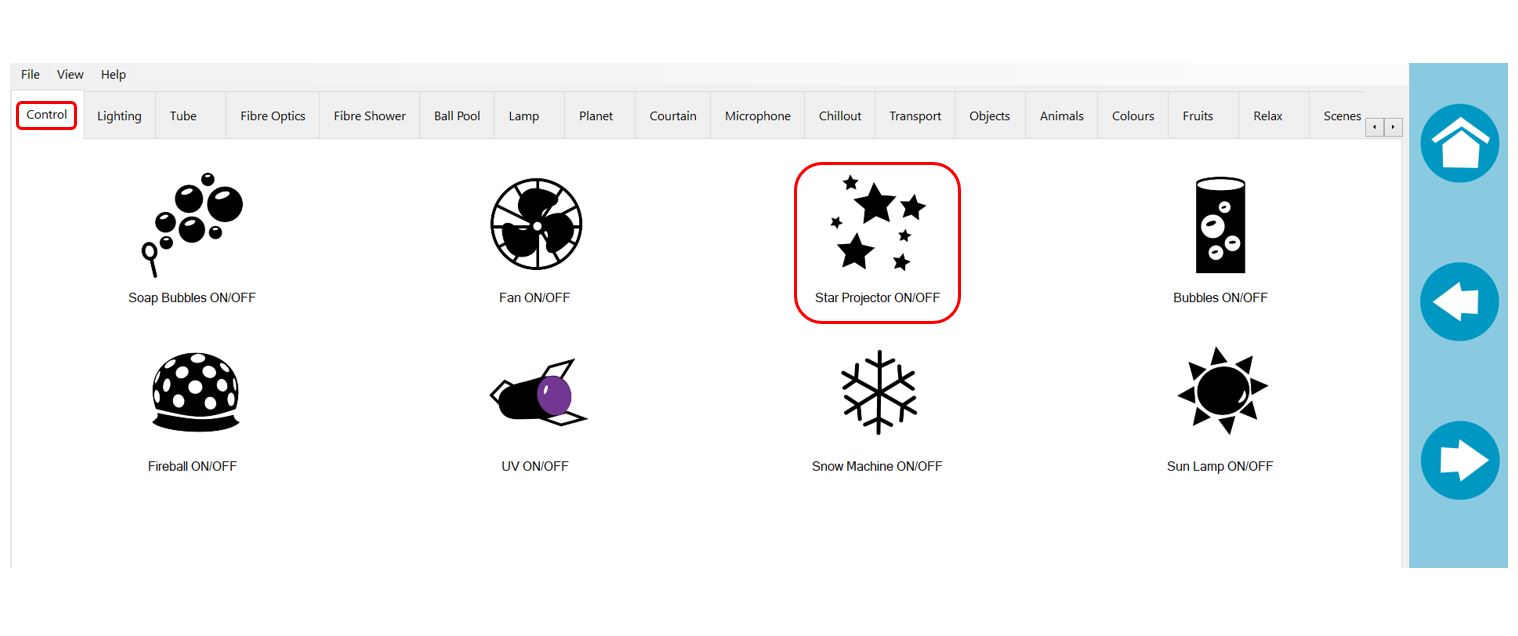
By clicking on the button indicated in the previous figure, the stars will be activated if they were off, and will go off if they were on.
IMPORTANT: For its correct operation, the blue wheel of the Socket + device must be in position 3
Software configuration
To control the stars, the configuration of the device has been created in the SHX application.
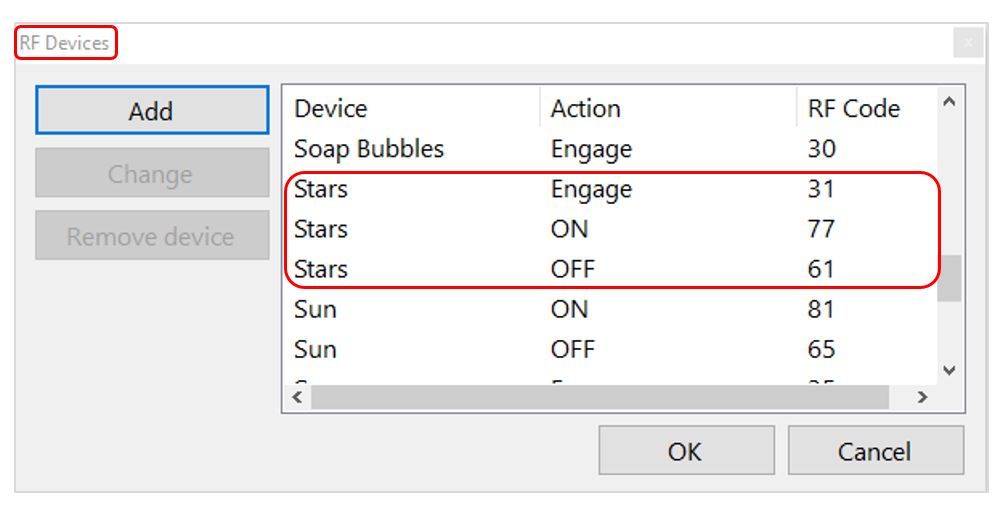
The control orders of the stars are sent by radiofrequency. The codes associated with the different functions of the control of the stars are:
- Code 31: activate / deactivate stars
- Code 61: deactivate stars
- Code 77: activate stars
The configuration parameters of the stars are the following:
Maintenance
- Clean the surface of the SHX Star Projector on a regular basis to maintain good performance of the device.
- To clean it, disconnect it from the power socket.
Clean using soapy water and a soft cloth (wrung out). - Never use chemical or abrasive products for cleaning.
- Carefully dry the surface and do not connect the power supply until one hour after.
Troubleshooting
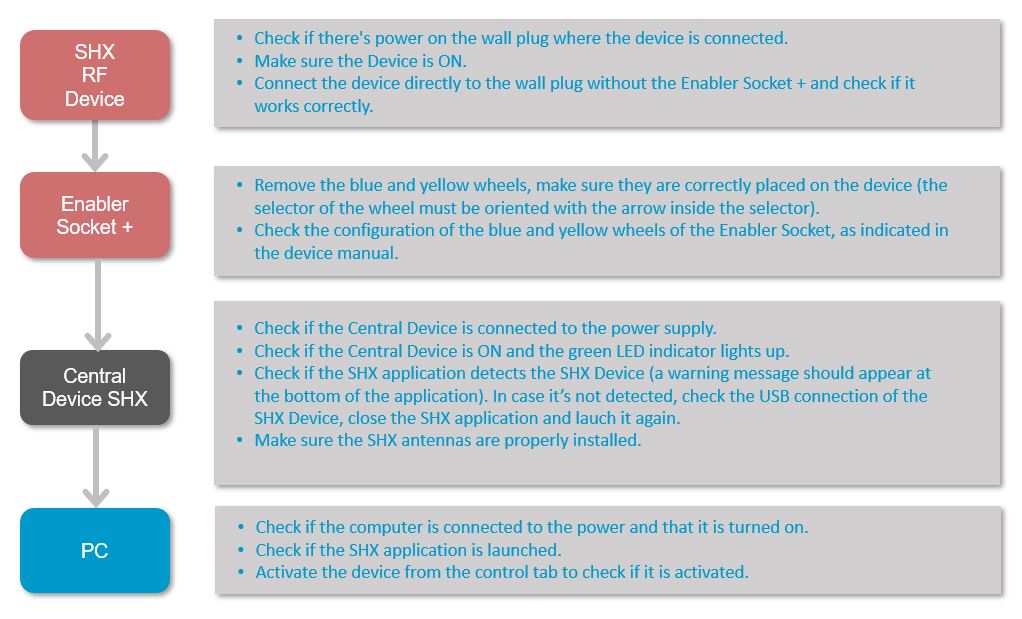
The projector doesn’t turn on:
In the event of the Star projector not starting up, check the following steps:
The nebula is lights up but the stars part is not working:
In the case that you see the blue nebula but not the stars on the ceiling of the room, check if the plastic plate that is screwed to the pulsator of the stars is tight and fixed to the projector. In the case that it is well fixed, if it continues to fail, there might be an issue with the device.
The stars are working but not the nebula:
Check if the nebula’s brightness adjustment whell is at the correct intensity.
You hear how the Socket + receiver is activated but the star projector doesn’t activate:
Check that the projector’s power adapter is properly connected to both the receiver and the star projector.
FAQ's
How big can be the surface star projector can cover?
From 2 meters distance, it can cover 3 square meters.
Can it be fix to the wall or to any surface
Yes, it’s possible to fix the projector to the wall, althought fixings are not included.
Recycling
Electrical products should not be disposed of with household waste
- Dispose of the product at an electronic waste collection point or your specialist distributor.
- Place the packaging material in the cardboard, paper and plastic recycling bins.
- To avoid possible damage to the environment or human health that represents the elimination of this kind of waste, separate these products from other types of waste and reciprocally correct. In this way, the sustainable reuse of material resources will be promoted.
- Private users can contact the establishment where they purchased the product or the relevant local authorities to find out how and where they can take it to an ecological and safe recycling.
- Within the term of legal guarantee we undertake to rectify for free by means of repair or replacement the defects of the product derived from defective materials or manufacturing defects.
- Any unauthorised alteration or modification of the product will void this warranty.
Warranty
Within the legal warranty period we agree to rectify for free by repairing or replacing defects in the product derived from defective materials or manufacturing defects.
Any unauthorised alteration or modifications to the product will void this warranty.
Product conformity
This product complies with the requirements indicated in the European Directive 2004/108 / EC.
Customer service
If you find any damage or any material is missing please contact our technical service for assistance.
BJ Adaptaciones
C/ Mare de Déu del Coll, 70, Bajos
08023 Barcelona, España
Fono: +34 93 285 04 37
Fax: +34 93 553 56 34
e-Mail: info@bjliveat.com
www.bjliveat.com
Any damage or breakage caused during transport must be notified within three days of receipt.


