

Description
Introduction to the product
El Cielo Luminea impresses us with an effect of bright stars. The stars change colour randomly, creating a magical effect that is ideal for working on colour recognition and developing activities that enhance communication.
You can control the colours of the carpet with a 6-button remote, the giant colour die ‘Sensory Cube’, the wireless colour carpet ‘Sensory Step‘, the switch of your choice, or download the free Luminea App to uniquely control the colours of the starry sky.
The App de Luminea allows you to control one or multiple Luminea devices and includes dozens of activities full of possibilities that take advantage of the appeal and interactivity of the fibre, making it ideal for therapeutic and/or educational intervention. Additionally, you can easily create your own personalised activities.
In addition to using the Luminea rug in a small multisensory corner, you can also use it as part of an environment with the System SHX where it combines with other Luminea devices, and with images, videos, sound, vibration, and other immersive effects. You will turn the entire room into an immersive themed environment with just the push of a button.
The SHX rooms also allow you to control any Luminea device with your voice, gaze, real objects, or other specific remotes.
Product components
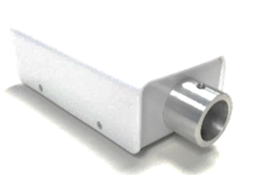
- Light source (1).
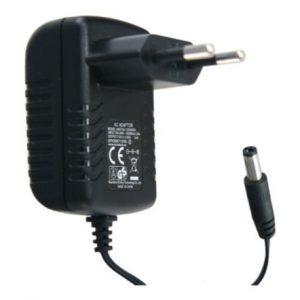
- Power supply for light source (2).
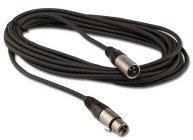
- 6m male-female DMX cable (3).
- Circular Luminea ceiling (4).
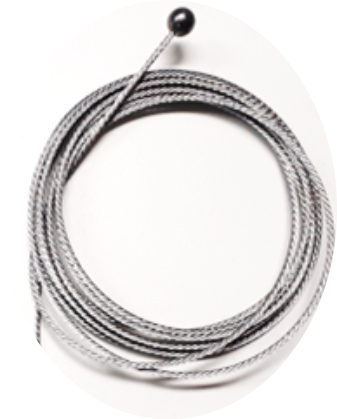
- 4 fixing cables with hooks (5).
- Allen key for mounting the fibres in the light source (3mm)
1. 2.
2. 3.
3.
4. 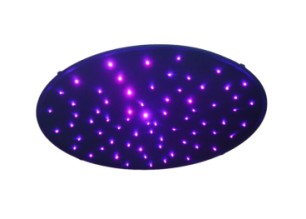 5.
5. 
Installation
Attachment of the ceiling to the roof:
For the support of the ceiling, it has 4 adjustable steel cables. The distance between the attachment points is 865mm.
- Fix the base of the anchor sleeve to the ceiling.
- Pass the steel cable through the inside of the socket.
- Screw the sleeve into the base.
- Pass the steel cable through the carabiner’s retainer (1)
- To adjust the length of the cable, press the cable retainer (2) inward.
- At the bottom of the light source, you will find two holes to secure the light source to a wall or ceiling.
- Attach the light source by placing 2 screws on the mounting surface. The head of the screw should protrude about 4mm from the wall. (The distance between the holes is 100mm).
- Place the fountain by aligning the base holes with the screws.
- Check beforehand that the fibre bundle can be connected with some slack.
- Move the source in the corresponding direction.
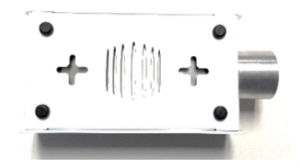
Fibre assembly:
- Insert the fibre bundle connector into the light source receptacle until it stops, once inside, secure it with the screw and the key provided for this purpose.
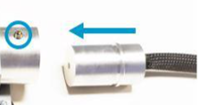
Startup
Startup
- Feed the light source. On the one hand the feeder must be connected to the light source as shown in the figure and on the other side the feeder must be connected to the electric current.
- Once you’ve plugged the light source, it will stay lit for 10 seconds (a white light) and thereafter it will work in automatic mode (see next section).
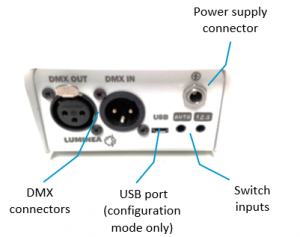
- For use with the SHX system, the DMX cable must be connected to the DMX IN connector. This cable must be connected to the rest of the DMX bus of the installation.
- In the event that this element is the last of the entire installation, the bus terminator should be connected to the DMX OUT (this terminator is supplied in the SHX Central Device).
- If you must continue the DMX signal to another device, you must connect the DMX cable to the DMX out connector.
How to use
Use with switches
 This input switches the device on and off. When it is switched on, the lighting will change automatically.
 This input changes the lighting colour cyclically, transitioning through red, green, yellow, blue, orange, white and off. When starting a cycle after shutdown, the bubbles are activated.
Use with wireless controllers
This device can be controlled with the wireless Button 6 controller or SHX Die.
Programme the Button 6 controller to work on the fibre optics setting to change the colour of the lighting directly from this wireless controller.
Control with an Android tablet
Use the Luminea app to control the Luminea Fibre directly from an Android tablet.
Follow these steps:
Link the Luminea Fibre to the tablet.
Select the lighting device from the list that appears in the app.
Use the activities and features in the app to control the lighting device.
Refer to the help section in the app for information on how to use it.
SHX use
- In the SHX software you can control the lights of the device.
- In the SHX app, you will also find a tab that allows you to change the colors of the device: you can choose between different colors or activate the function of automatic color changes.
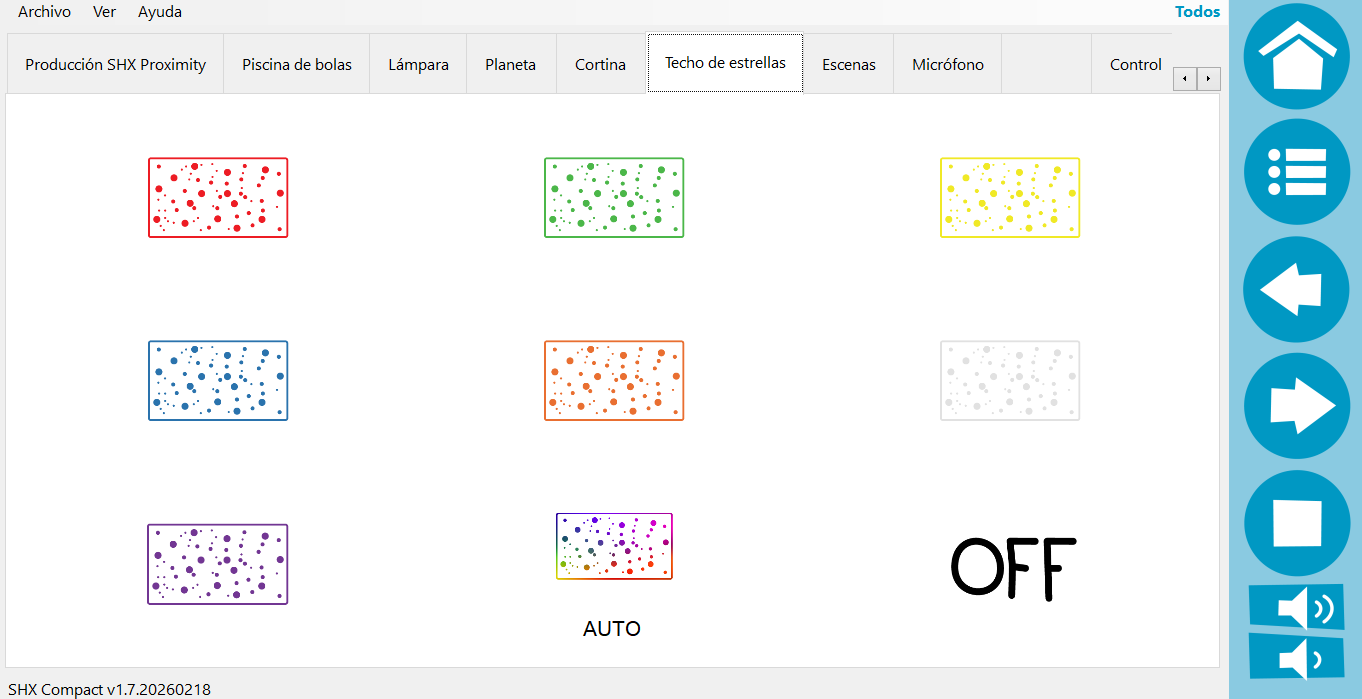
- In the SHX application there’s a power off button, you can turn off the device with it.
- You can configure the different contents of the SHX application as well, to create the effects you want to associate with that content. See the manual of the SHX application to learn how to create these contents, (automatic mode, according to the SHX scenes, by sound, simultaneous with the other elements or independent)
Troubleshooting
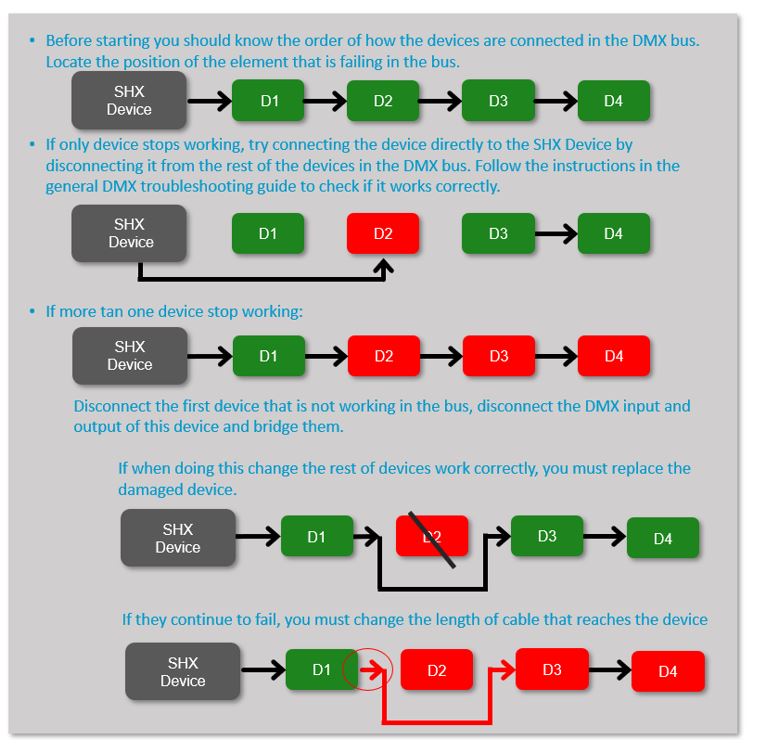
- For a basic troubleshooting of DMX devices follow the next steps:
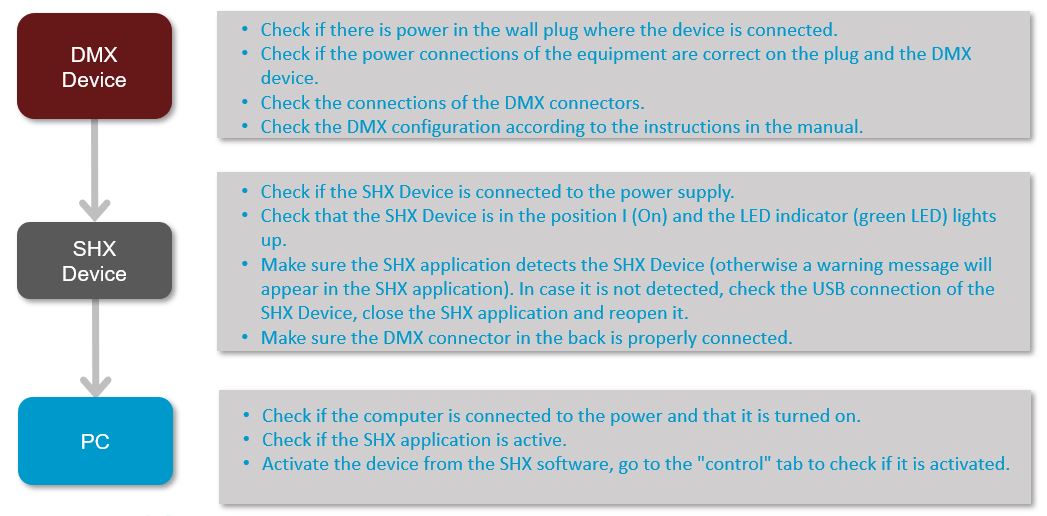
- When a DMX device is affecting the well functioning of other devices on the DMX bus, follow the next steps to identify wheater if a device is faulty or the issue is related to the cable used to connect all the devices.