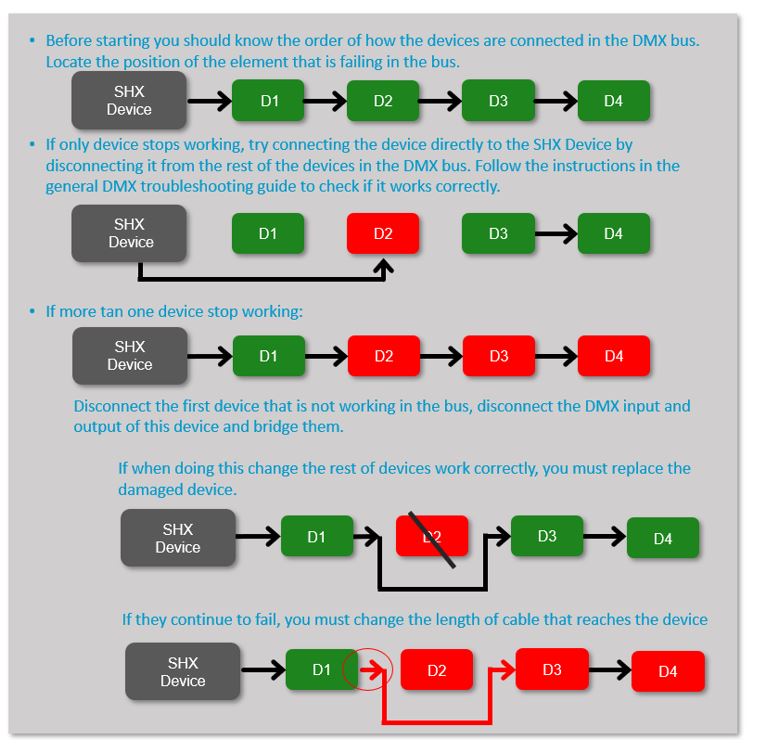

Description
Introduction to the product
The optical fibres that work in coordination with the entire room
The colour changes along the fibres enhance the user’s attention and focus. The contact of the fibre helps us perceive the different parts of our body. Ideal for cause and effect, colour recognition, and the development of activities that enhance communication.
Thanks to LED technology, the optical fibre shines with light along its length, offering a wide range of vibrant colours. The use of a UV light is recommended to enhance the illumination of the fibres in the dark. The greatest effect under a UV light is achieved by placing the optical fibre with white light. |
Product components
Bundle of fibres
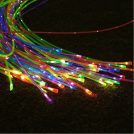
SHX light source
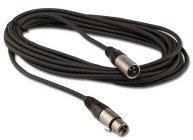
Cable DMX (6m)
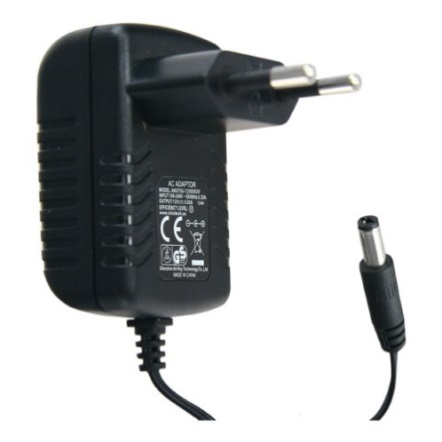
Power supply unit
Allen key for fibre fixation (3mm)
Installation
If you want to fix the light source to the floor or the wall:
Necessary elements for the assembly:
For the assembly of the device, you will need the following items not included with the product:
- 2x wall anchor (6mm). Make sure the anchors are suitable for the mounting surface.
- 2x screw with cylindrical head (minimum diameter 4.5mm)
Assembly:
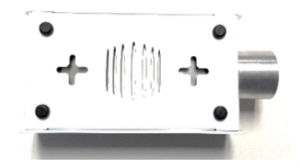
- At the bottom of the light source, you will find two holes to secure the light source to a wall or ceiling.
- Attach the light source by placing 2 screws on the mounting surface. The screw head should protrude about 4mm from the wall. (The distance between holes is 100mm.
- Place the source by aligning the base holes with the screws.
- Check beforehand that the fibre bundle can be connected with some slack.
- Move the source in the corresponding direction.
Assembly of the fibre bundle:
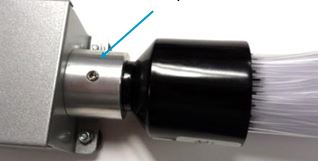
- Insert the fibre bundle connector into the light source receptacle until it stops, once inside, secure it with the screw and the provided wrench (3mm).
Start-up
Launch
- Connect the light source to the electrical current using the supplied power adapter to the power connector of the light source.
At the moment of connecting it, the light source will turn on in white for 10 seconds. After this time, it will operate in automatic mode (see next section).
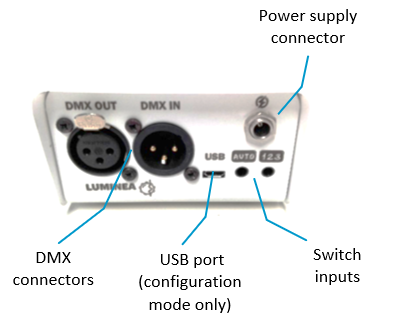
If you are going to use the device in an SHX environment, the DMX cable for lighting control must be connected to the DMX IN port.
In case you want to control more lighting elements, you should connect the DMX cable from the DMX OUT connector to the next DMX element.
In the event that this element is the last in the entire installation, the bus terminator should be connected to the DMX OUT output (this terminator is supplied with the SHX Central Device).
Use of equipment in the Luminea environment
Switch control
The fibre light source has two switch inputs:
 This entry turns the device on and off. Once it’s running, the lighting changes automatically and the bubbles activate.
 This entry changes the lighting colour cyclically, passing through the colours red, green, yellow, blue, orange, white, and off. When starting a cycle after being turned off, the bubbles are activated.
Wireless remote control
You can control the device using the wireless remotes Button 6, Button 1, or from the Luminea mat or die.
Configure these controllers in the appropriate operating mode so that they can control this device (refer to the controller manual) and change the device’s colour directly from the remote control.
Tablet control
If you wish, you can control the device directly from an Android tablet with the Luminea App.
The luminea app can be downloaded for free from Google Play
If you have a Luminea* Router:
- Connect the Tablet to the router’s Wi-Fi.
- Wi-Fi: Multisensory
- Password: Temporal123456
- Check in the App that your device appears in the list of devices.
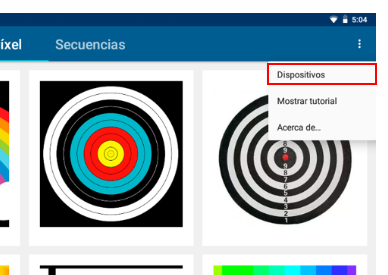
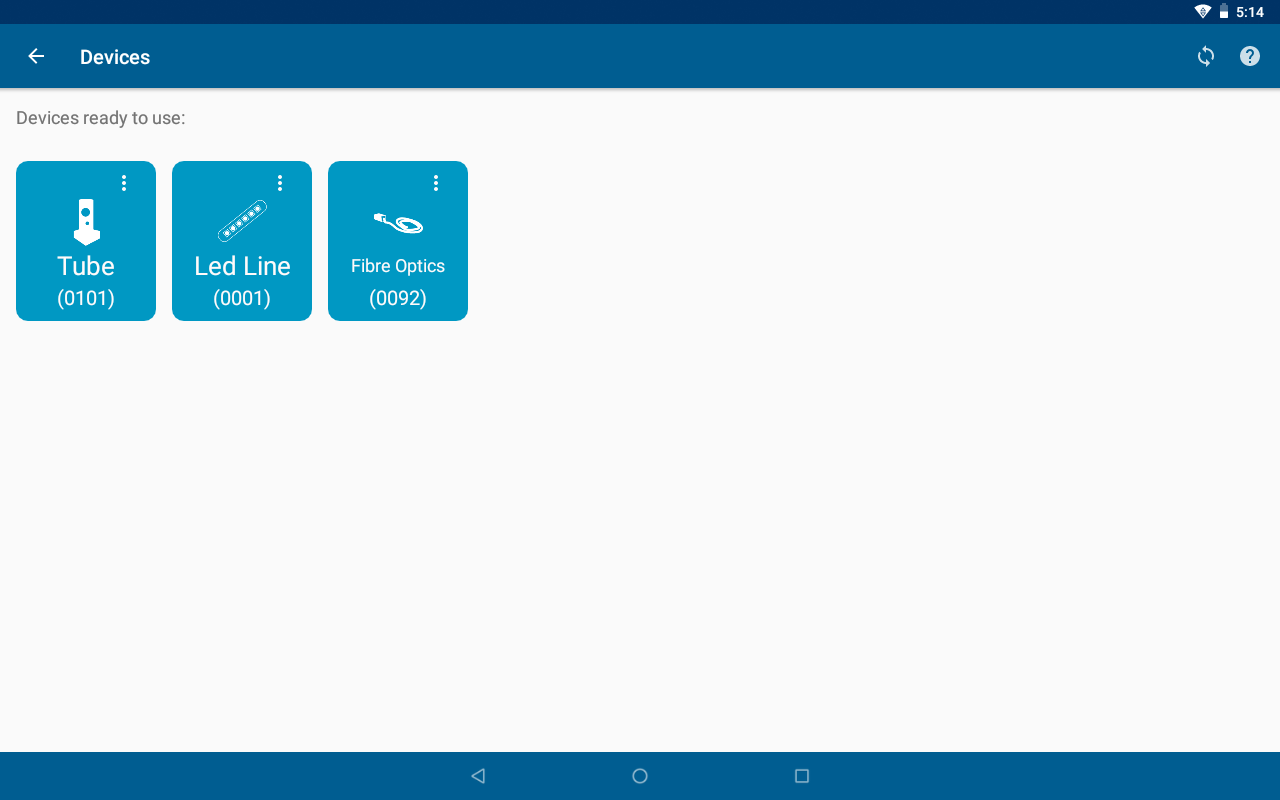
* The Lumiena Router is delivered with the “Luminea Corner” product, in the SHX Rooms, or it can be purchased separately.
If you do not have a Luminea Router, you must connect your device and the Tablet to the same available Wi-Fi. Refer to the section “Wi-Fi Configuration for Luminea Devices” to set it up.
Everything is all set up and ready to go!
Now you can control the lighting of the devices with the multiple activities created in the App. There are two types of activities:
- Pixel: By touching a point on any image, the device will turn the selected colour.
- Sequences: Choreographies are performed by combining music or sounds and sequences of colours.
- It is also possible to upload images and create custom activities.
You can find more information at the following link: Luminea App – manual
Wi-Fi settings for Luminea devices
- To control Luminea devices from a tablet, all Luminea devices and the tablet must be connected to the same Wi-Fi network.
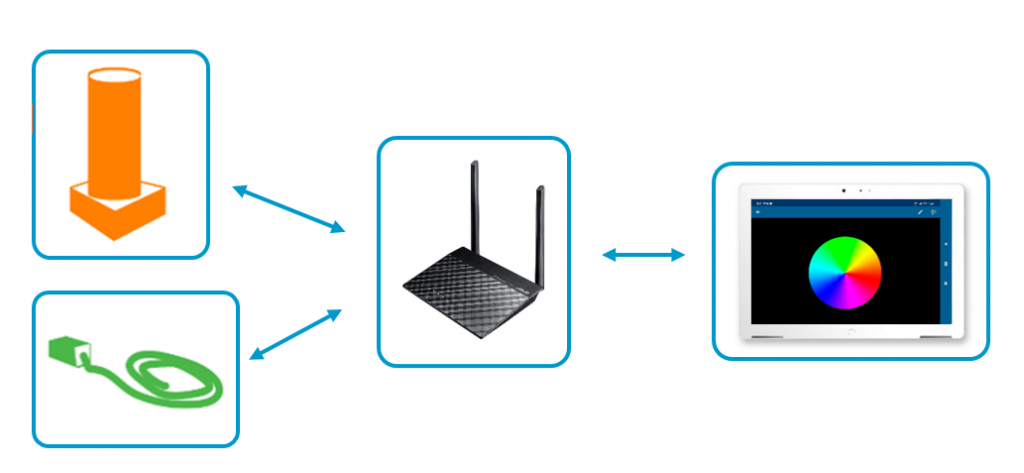
SHX / Luminea Corner / Luminea Router
If you have an SHX installation, a Luminea Corner, or have purchased a Luminea Router along with several Luminea devices, all these devices will already be configured and connected to the Wi-Fi network that comes with these items.
Add Luminea devices to a Wi-Fi network
In the case of not using a router supplied with the Luminea device, you must connect each of the Luminea devices to the available WIFI. You should also connect your tablet to the same WIFI.
Luminea devices can be connected to a Wi-Fi network using the Luminea app for Android or the Luminea Setup Tool program for Windows, in this case using a USB cable.
1. From Luminea App (Android)
You can check the Wi-Fi settings of Luminea devices from the Luminea App by clicking on the following link: Luminea App – manual
2. From Luminea Setup Tool (Windows)
The Luminea Setup Tool program can be downloaded from:
- BJLive! Web: http://update.bjliveat.com/Luminea/LumineaSetup.msi
- Microsoft Store (automatic updates): https://www.microsoft.com/store/apps/9NNWPMVRG4PN
Once installed, and before starting the program, you must ensure that:
- The Luminea device is connected to the PC via a micro USB cable.
- The Luminea device is connected to the power supply (once plugged in, you must wait 10 seconds until it stops being illuminated in white).
- The Luminea device is located in an area where your Wi-Fi network has good coverage.
- The Luminea device is not connected via DMX.
When you open the Luminea Setup Tool program, it will show you which network your device is connected to.
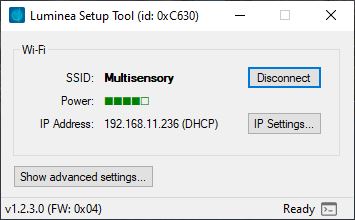
If you want to connect the device to another network, you must first disconnect by pressing the “Disconnect” button.
To connect to a Wi-Fi network, press “Connect,” wait for the list of available networks to appear, select the name of the network you want to connect the Luminea device to from the list, press “Connect,” and enter the network password.
Use of the equipment in an SHX environment
In the SHX software you can control the lights of the device.
In the SHX app, you will also find a tab that allows you to change the colors of the device: you can choose between different colors or activate the function of automatic color changes.
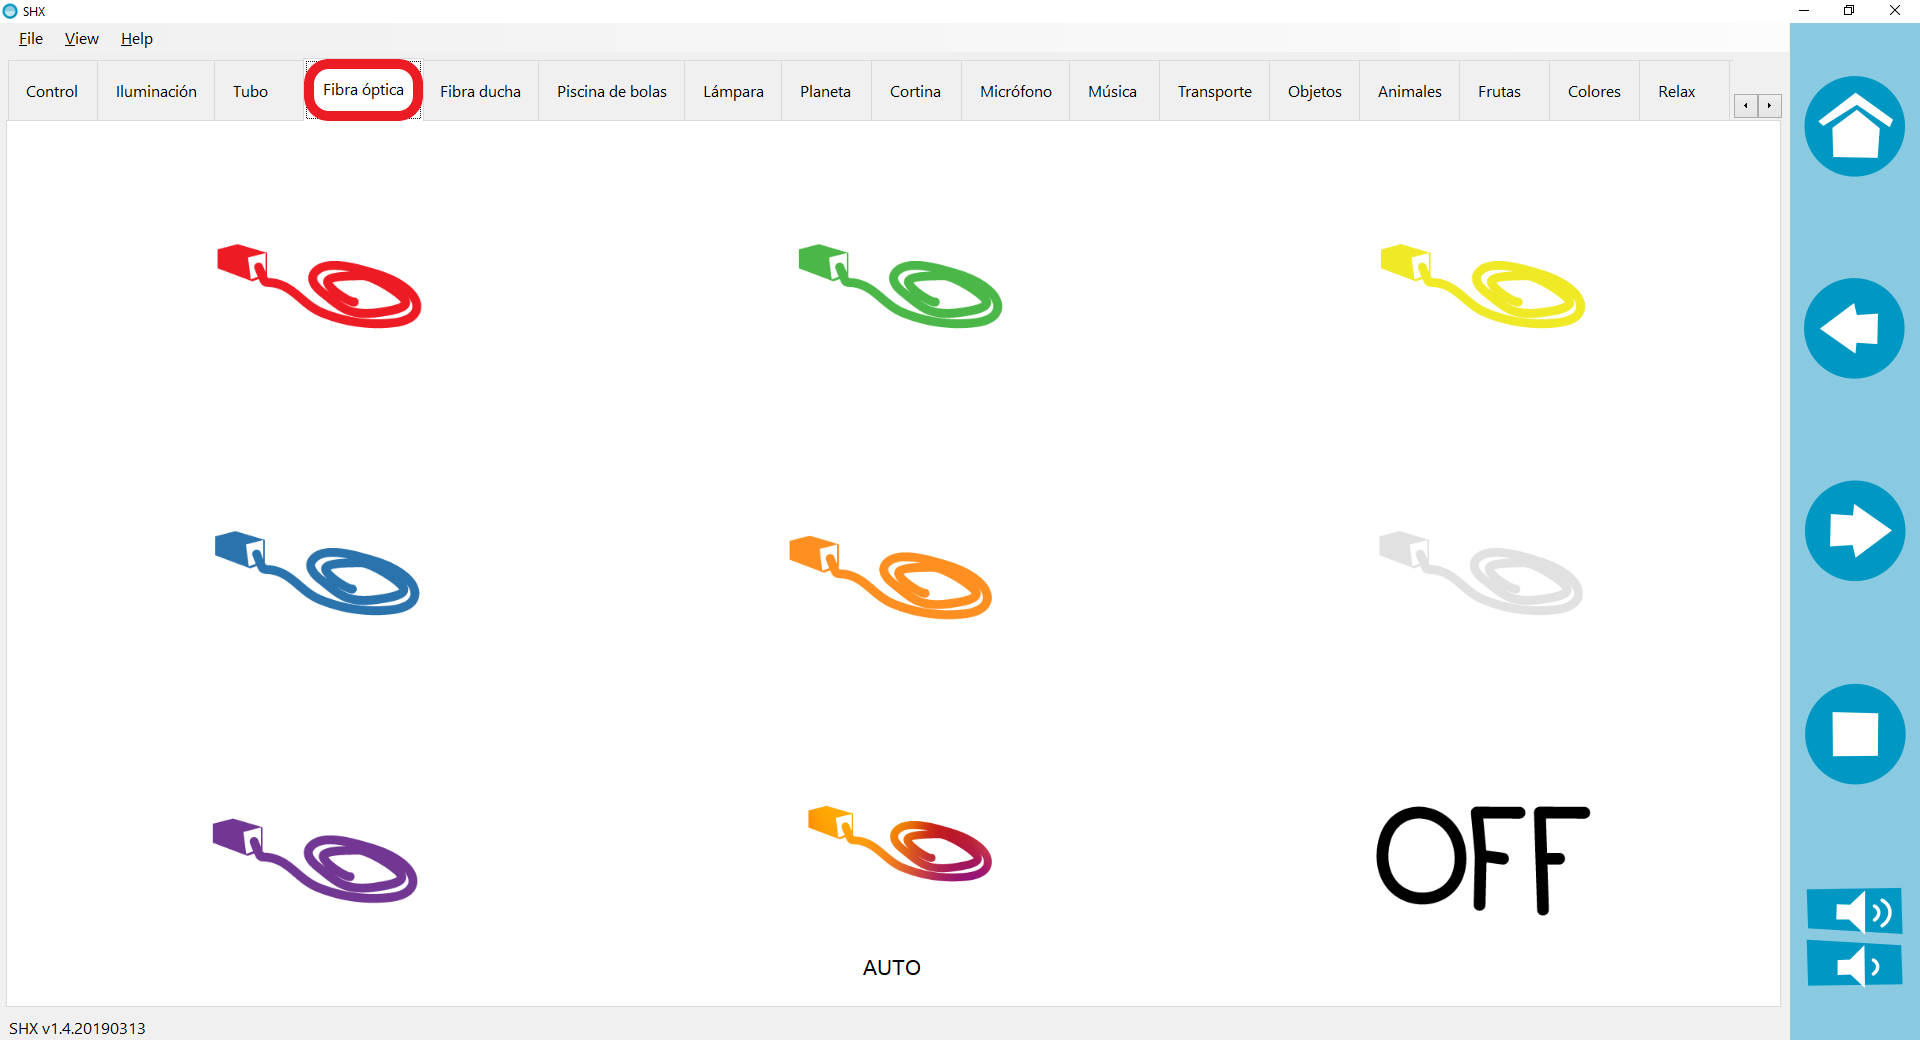
- In the SHX application there’s a power off button, you can turn off the device with it.
- You can configure the different contents of the SHX application as well, to create the effects you want to associate with that content. See the manual of the SHX application to learn how to create these contents, (automatic mode, according to the SHX scenes, by sound, simultaneous with the other elements or independent)
SHX software configuration
The control of this device has been added to the SHX application.
The configuration parameters for this device are:
Lighting control:
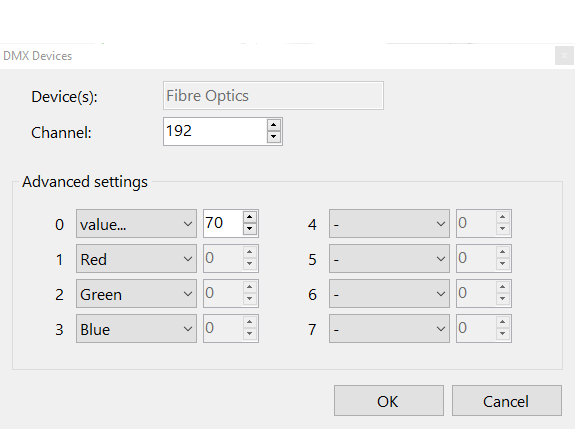
- DMX address: 192
In the SHX application it has been created within the DMX devices with the following configuration:
Troubleshooting
The device is not working:
Follow the following guide in case the device does not respond to the computer’s commands:
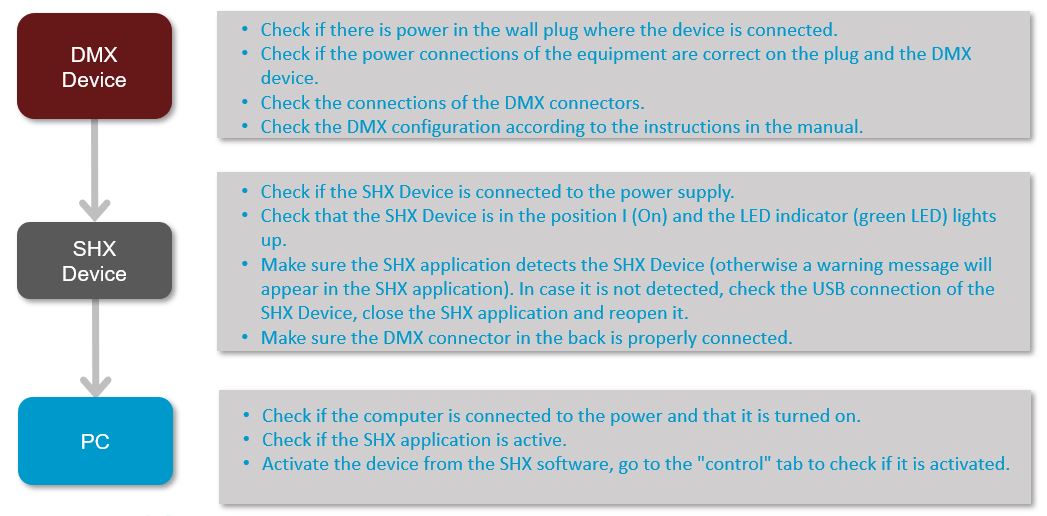
In the event that the previous adjustments are correct, you can verify the DMX signal connections with the following guide: