- Products
- >
- SHX Switch
Safety warning
- Please read the whole manual before you start.
- The product should always be used under adult supervision.
- This product works with batteries: if you are not intending to use it for an extended period of time, it is advisable to remove the batteries to prevent leakage, which may damage the product
Description
Introduction
This wireless switch allows direct, sequential, random or scanning access to the SHX scenes
In addition, it can be configured to access the scenes in a collection in shuffle mode as well as in sequential or scan mode.
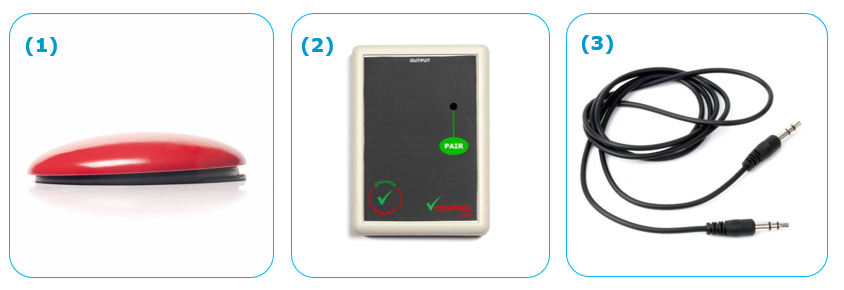
Product components
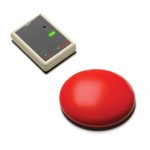
- Inalambric Switch (Simplyworks Switch 125)
- Receiver (Simplyworks Control Lite)
- Jack-jack wire
- 4x AAA batteries (included)
Technical specifications
- Large activation surface: 125mm
- Activation range up to 10 meters
- Automatic energy saving system (On / Off button).
- Long duration of the batteries.
Startup
Assembly of the batteries
First remove the screw from the battery cover on the back of the device. Use two AAA batteries, make sure the orientation is correct (a “+” symbol indicates the positive side). Place the cover and fix the screw again.
On the receiver
First remove the screw from the battery cover on the back of the device. Use two AAA batteries, make sure the orientation is correct (a “+” symbol indicates the positive side). Place the cover and fix the screw again.
As on other battery-operated products, it is advisable to use good quality batteries and longlasting batteries.
If it is not planned to use the SWITCH 125 for a long period of time, it’s highly recommended to remove the batteries to avoid leaks and possible damage to the device.
Pairing
- Put the SWITCH 125 near the CONTROL LITE receiver.
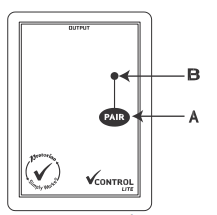
- Press the “Pair” button on the front of the receiver. The “Pair” LED will begin to blink slowly.
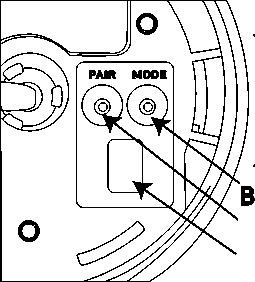
- Press the “Pair” button on your SWITCH 125.
- The “Pair” LED will continue to flash on the CONTROL LITE receiver for a short period of time while pairing it with SWITCH 125. Once the process is complete, the “Pair” LED will illuminate permanently for 5 seconds to indicate if the process It has been done successfully. The SWITCH 125 is ready to be used. Each time the SWITCH 125 is used, the “Pair” LED will blink briefly to visually indicate that the wireless link is working.
- If the “Pair” LED stops blinking after 30 seconds and does not light up steadily, repeat the process from step 2. If the process continues to fail go to the “Troubleshooting” section.
The pairing information is stored in the internal memory of the SWITCH 125 and is maintained even after changing the batteries.
How to use
Connecting to SHX System
In order to work with the SHX system the receiver must be connected with Central Device using the Jack-Jack wire.
Please see Central Device’s manual for more information, and to learn how to configure the diferent user modes: direct, shuffle, sequential, scan
Maintenance
- As with all battery-powered products, using good quality batteries such as Duracell or Energiser is recommended
- If you are not intending to use your SWITCH 125 for an extended period of time, it is advisable to remove the batteries to prevent leakage, which may damage the product.
- For cleaning the device, with a cloth slightly dampened in water.
- Do not use abrasive substances. Always clean with the device disconnected.
- Do not allow liquids to enter the inside of the box for the switch inputs and they can seriously damage the equipment.
- This equipment is not designed for outdoor use.
- In case of failure do not manipulate the device.
Troubleshooting
Unit works erratically or intermittently
- Batteries flat – replace.
- Out of range – move SWITCH 125 closer to receiver.
- Interference- place both SWITCH 125 and receiver unit away from sources of interference.
Units will not Pair- LED is extinguished after 30 seconds.
- Batteries flat – replace.
- Ensure SWITCH 125 is close to receiver (e.g. 1 metre/ 1 yard) while pairing.
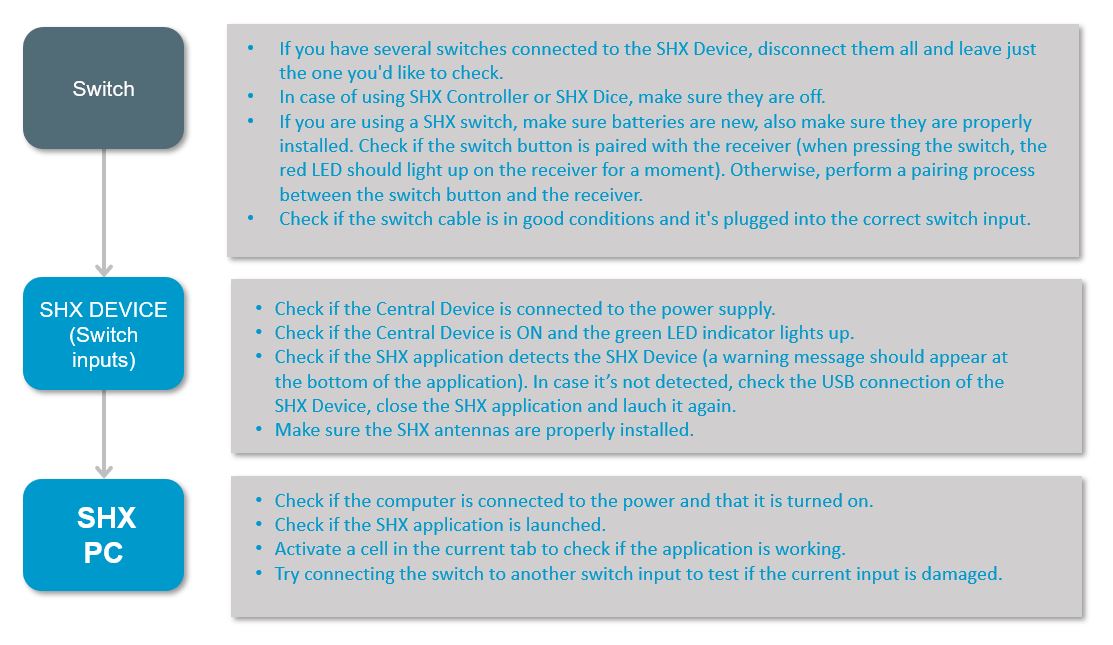
The device does not respond to wireless controls:
Recycling
Electrical products should not be disposed of with household waste.
- Dispose of the product at an electronic waste collection point or your specialist distributor.
- Place the packaging material in the cardboard, paper and plastic recycling bins.
Warranty
Within the legal warranty period we agree to rectify for free by repairing or replacing defects in the product derived from defective materials or manufacturing defects.
Any unauthorised alteration or modifications to the product will void this warranty.
Product conformity
This product complies with EU 2004/108/EC Directive requirements .
Declaration of conformity can be downloaded by clicking on the following link: bjliveat.com
Customer service
If you find any damage or any material is missing please contact our technical service for assistance.
Any damage or breakage caused during transport must be notified within three days of receipt.
BJ Adaptaciones
C/ Mare de Déu del Coll, 70, Bajos
08023 Barcelona, España
Fono: +34 93 285 04 37
Fax: +34 93 553 56 34
e-Mail: info@bjliveat.com
www.bjliveat.com


