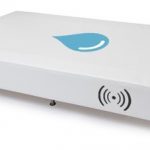

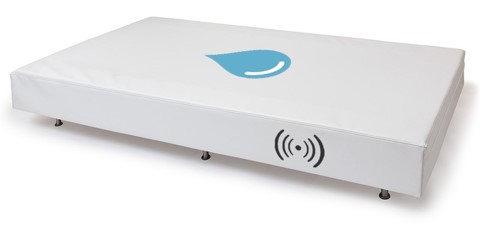
Description
The waterbed provides a warm and pleasant feeling that allows users to explore their body while experiencing a profound relaxation. The water’s temperature can be regulated with the included heater.
This equipment may include upon request, a vibrating system to which is it possible to connect any music player. It is accessible for mobile hoists.
Parts of the equipment
- Bed structure: Wood with foam perimetre
- Water heater with thermostat

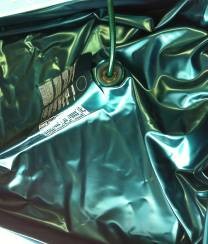
- Water matress + safety liner

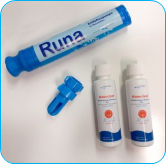
- Set: Air bleed pump + anti-algae treatment fluid
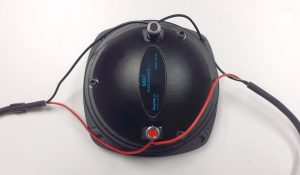
- 2x vibro speakers already installed and linked by an audio cable (1m aprox)
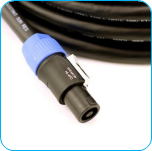
- Vibro wire (15m) with Speak-on conector
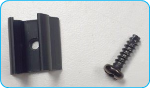
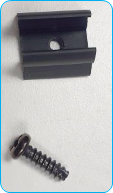
- 3 + 3x Cable fixin clips
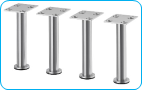
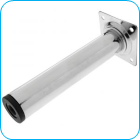
- 8x legs (CAPITA).
- Lanyard for the zipper

Pre-Installation
For the pre-installation of the product you will need:
- Power socket 230V -50Hz
- Connector for the Speakon type female speaker or a channel to carry the cable from the bed to the vibration amplifier.
Keep in mind that for filling the bed you will need a hose (not included) to a water supply.
Installation
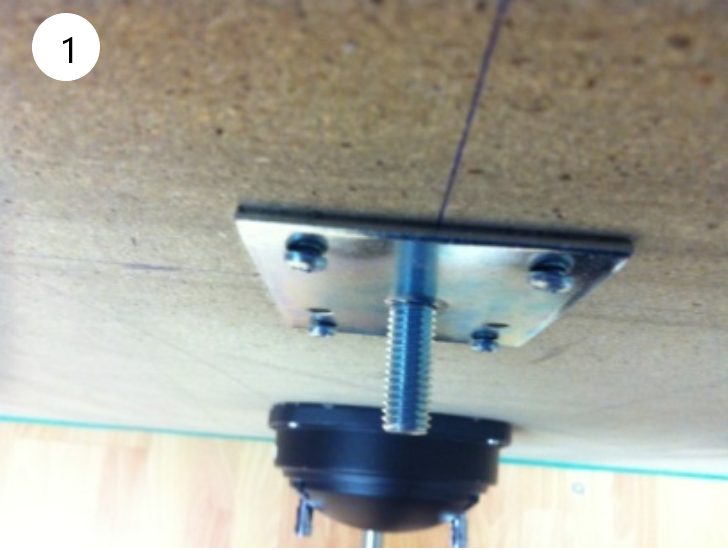
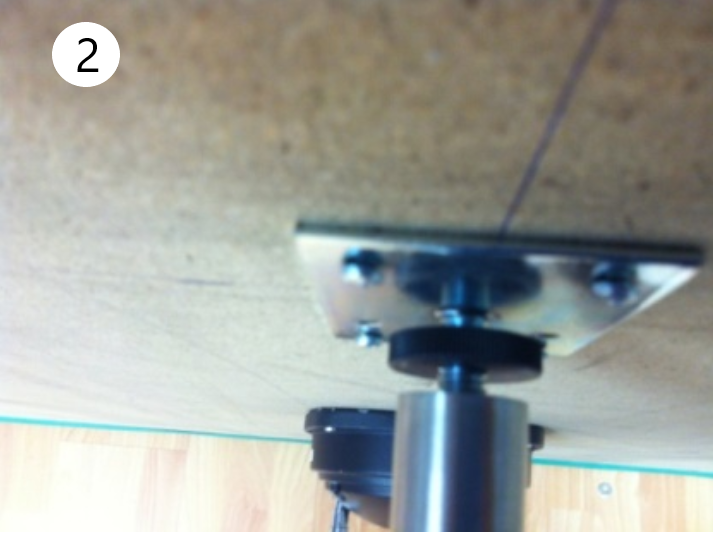
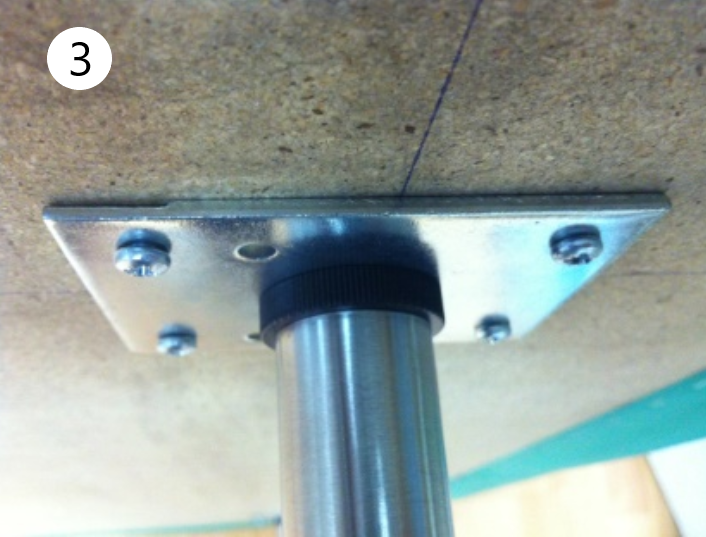
STEP 1: Fitting the legs to the base of the bed
Case A: 16cm high legs (CAPITA)
The base of the legs should already be bolted to the bed.
It is only necessary to screw the legs into the boss screw on the base. The black plastic ring is used to adjust the height of the leg in order to level the bed in relation to the ground, allowing small level adjustments.
Make sure that the leg is screwed to th bed tight, for better stability and resistance
Case B: 25cm high legs
Screw the legs into the location already marked on the wood
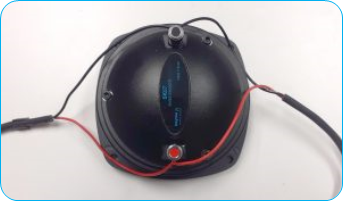
STEP 2: Connecting the vibration speakers:
The vibration speakers will already be screwed to the bed and attached by a speaker cable fixed by 3 clips to the wood of the bed.

It will be necessary to connect the 15m sound cable that will then be plugged into the vibroacoustic amplifier in the pivots of one of the two installed speakers. It is necessary to consider:
- The bed must be installed so that the zipper is on the wall side. (The lanyard must be placed on the zipper to facilitate opening)
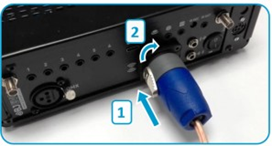
- Connect the sound cable, as shown in the images, to the speaker that is most convenient according to the location of the vibroacoustic amplifier.
- The 3 clips should be screwed to the base of the bed and clamp the cable so that it does not hang down and can be damaged when cleaning or placing a lift under the bed.
- The excess cable must be collected in such a way that there is no possibility of pulling.
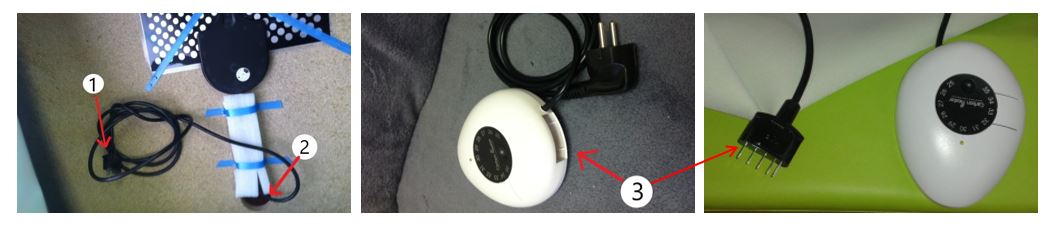
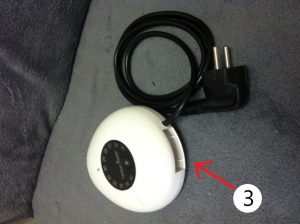
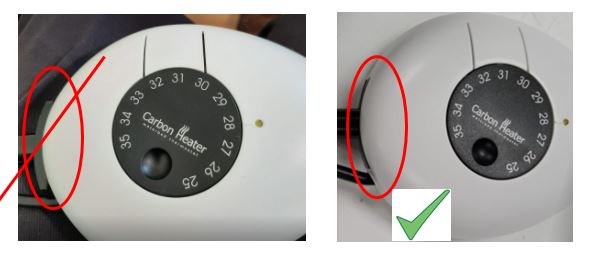
STEP3: Connecting the thermostat to the waterbed’s heater
Pull cable (1) through hole (2) and match cable connector 1 by connecting it to thermostat (3).
IMPORTANT: Do not connect the water heater until the bed is completely full as it could cause a fire. Unplug the heater before emptying the bed.
- The heater manual contains important safety information. See the manual before filling the bed.
- The heating process can last between 24 and 48 hours.
- It is recommended to install the cables of the vibrating element (if vibration is included) as indicated in step 6 before filling the bed.
STEP 4: Fitting the fluid collection canvas and the mattress inside the bed frame
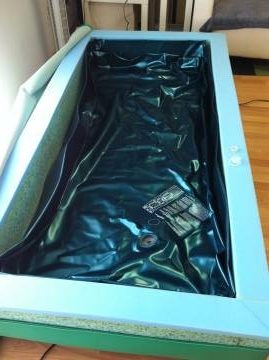
Place the fluid collection canvas on the water heater and spread it around the whole of the inside to insulate the mattress from the electrical elements and from the bed’s wooden frame holding the entire edge down with the help of another person or using sealing strips.
On the insulating canvas, place the mattress with the filling inlet at a short end of the bed and facing upwards. Distribute the whole mattress evenly in the bed.
STEP 5: Filling the matress
IMPORTANT: Before filling the bed, place the structure in the final position in the room because once it is filled is almost impossible to move it without damaging the bed’s frame.
- Open the screw-cap on the filling nozzle and the inner cap to insert the filler hose about 30 cm inside the filling nozzle and begin to fill the mattress.
- If the hose has already been used, before inserting it into the mattress rinse the inside of the hose allowing water to run through it for 2 minutes making sure the water runs clear after this time (if it is still dirty, use another hose).
- When half full, add two bottles of anti-algae treatment fluid.
- Fill the mattress until it is 1 cm below the foam rubber frame edges. You can control the water level by stopping the filling and looking through the filling nozzle.
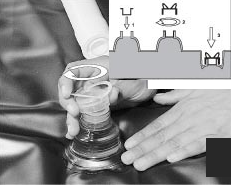
STEP 6: Bleeding the air from the mattress
Bleed the air from inside the mattress using the air bleed pump:
- Connect the air bleed pump by screwing it on to the mattress’ filling nozzle.
- Raise the pump slightly and pump keeping the pump raised until a stream of water flows out of the end of the pump.
- Once bled, gently lower the pump and unscrew it from the filling nozzle holding the filling nozzle in one hand and unscrewing the pump with the other.
- Fit the rubber cap when the water inside is level with the filling nozzle and then fit the screw-cap. Dry any drops of water on the surface of the mattress with a damp cloth.
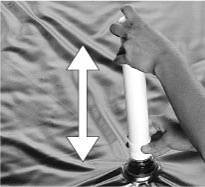
NOTE: If the waterbed makes a sloshing sound it means there is still air in the mattress. A well bled mattress makes no noise.
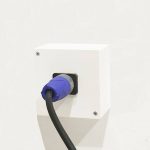
STEP 7: Connection to the vibroacoustic amplifier.
Connect the vibro cable with the speakon plug to the vibroacoustic amplifier following the instructions of the device to which it is to be connected
IMPORTANT: Do not connect audio speakers
Vibroacoustic element: Min 4Ω / Max: 50W
For connection to the BJ-EX02 SHX Rack device..
The SHX Rack has a power stage that supplies up to 2 + 2 vibroacoustic elements.
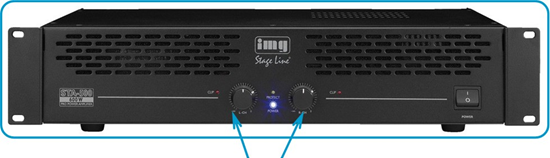
Vibration regulators for each channel
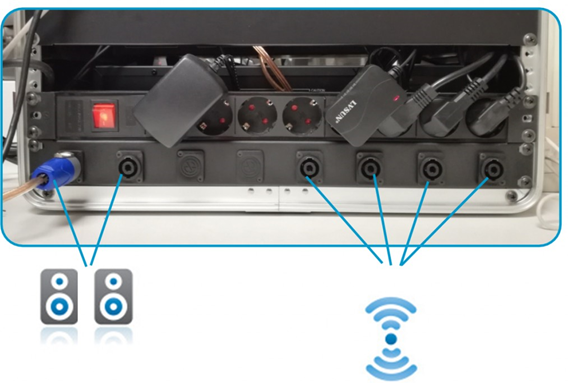
It is important that, if there are 2x vibroacoustic beds in the same room, they are not connected to the same vibration channel
Maintenance
Maintaining the water mattress
As tap water is not always of the best quality and to prevent algae growth and preserve the purity of the water, every 6 months a preservative product must be added (a small bottle is enough for 6 months’ protection, a large bottle can be added once a year). There is no need to empty and refill the mattress. After adding the preservative fluid you must bleed any air left inside using the air bleed pump.
Like a traditional bed, the bed must be aired daily.
We recommend you follow the instructions. If you do so, you will never have to replace the water. It is important to always use the same brand of preservative product because some products are not compatible.
Using different brands or a late addition of the product may cause an unpleasant smell. If this occurs it is recommended to change the water.
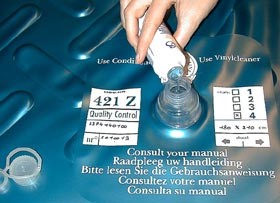
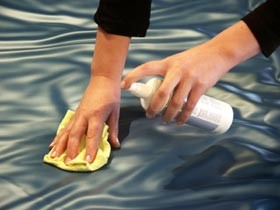
Cleaning the vinyl
The outside of the water container is maintained by regularly spraying a little vinyl cleaner on the mattress and rubbing with a dry cloth. If you follow this advice well, your water mattress will have a longer life expectancy because this removes any remains of perspiration. It is recommended to fit a mattress cover to absorb any sweat. The water mattress is made of vinyl and therefore cannot absorb sweat making it very hygienic.
A water mattress that has not been cleaned for a long time will be covered with grains of salt caused by the evaporation of perspiration.
IMPORTANT: It is not recommended to clean the water mattress with soap or household cleaners.
Troubbleshooting
Water is not hot:
- A temperature around 28ºC is recommended.
- Make sure there is power on the wall plug where the bed is connected.
- Check if the cable of the bed is connected to the power supply.
- The heater is properly connected to the thermostat slot.
- Once you have checked the above steps, you can turn up the temperature of the thermostat to check that the heater is connected.
- When the temperature rises, the green led of the thermostat has to be turned on.
- After a while, when this temperature has been reached, the green LED should turn off.
- Remember to leave the thermostat at the desired temperature.
In the case that the mattress has a leak:
- Disconnect the thermostat from the wall plug. Disconnect the vibration speaker from the vibroacoustic amplifier.
- Empty the mattress completely and replace it with a new one.
The bed doesn’t vibrate:
In case vibrating elements are not working, chek the correspondant troubbleshooting depending on the equipment:
a) For SHX Rack, go to BJ-EX02 troubbleshooting.
b) For SHX Compact o SHX Device, go to BJ-EX04 troubbleshooting.
c) For SHX Vibroacoustic Amplifier, go to BJ-EMAVIB troubbleshooting.