
Installation
- Follow this link to download the Luminea Remote program.
- Run the Luminea Remote program installer in the computer you use with Grid 3 or Communicator 5. Follow each step as prompted to ensure you install the program correctly.
- Make sure that the computer is connected to the same Wi-Fi network as your Luminea devices.
SHX / Luminea Corner / Luminea Router
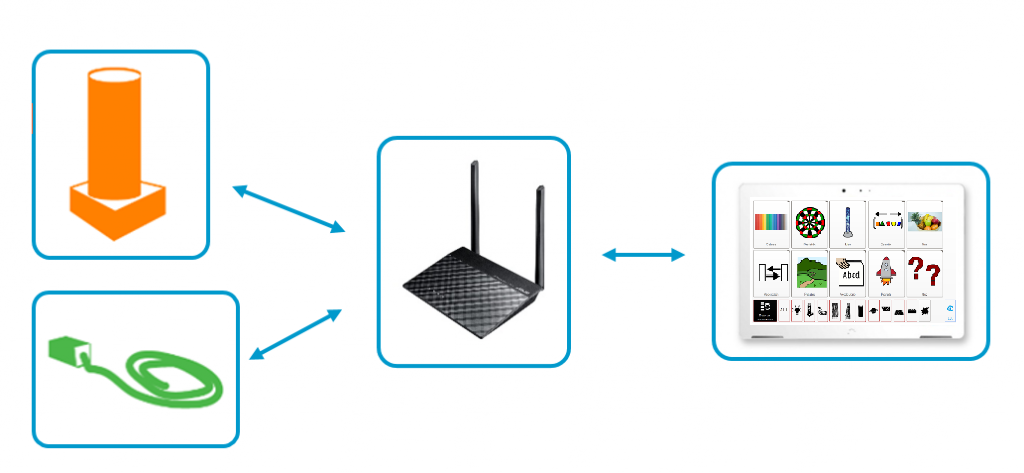
If you use SHX technology in your sensory room, have a Luminea Corner or use a Luminea Router with several Luminea devices, they will all be compatible for use with the WiFi network that is included with them.
A) If you have a Luminea Router*:
Connect the tablet to the router’s
WiFi network: Multisensory
Password: Temporal123456
B) If you do not have a Luminea Router:
- Connect the device and the tablet to the same available Wi-Fi network. Consult the “Luminea device Wi-Fi settings” section for further information.
How to use Luminea Remote with Grid 3
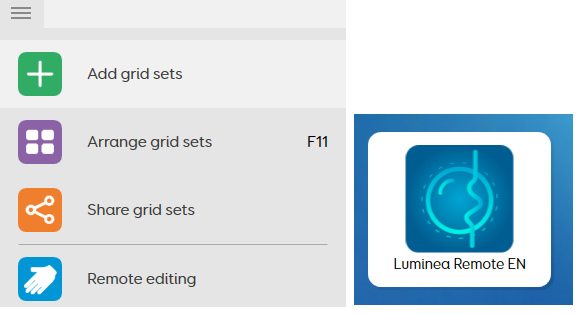
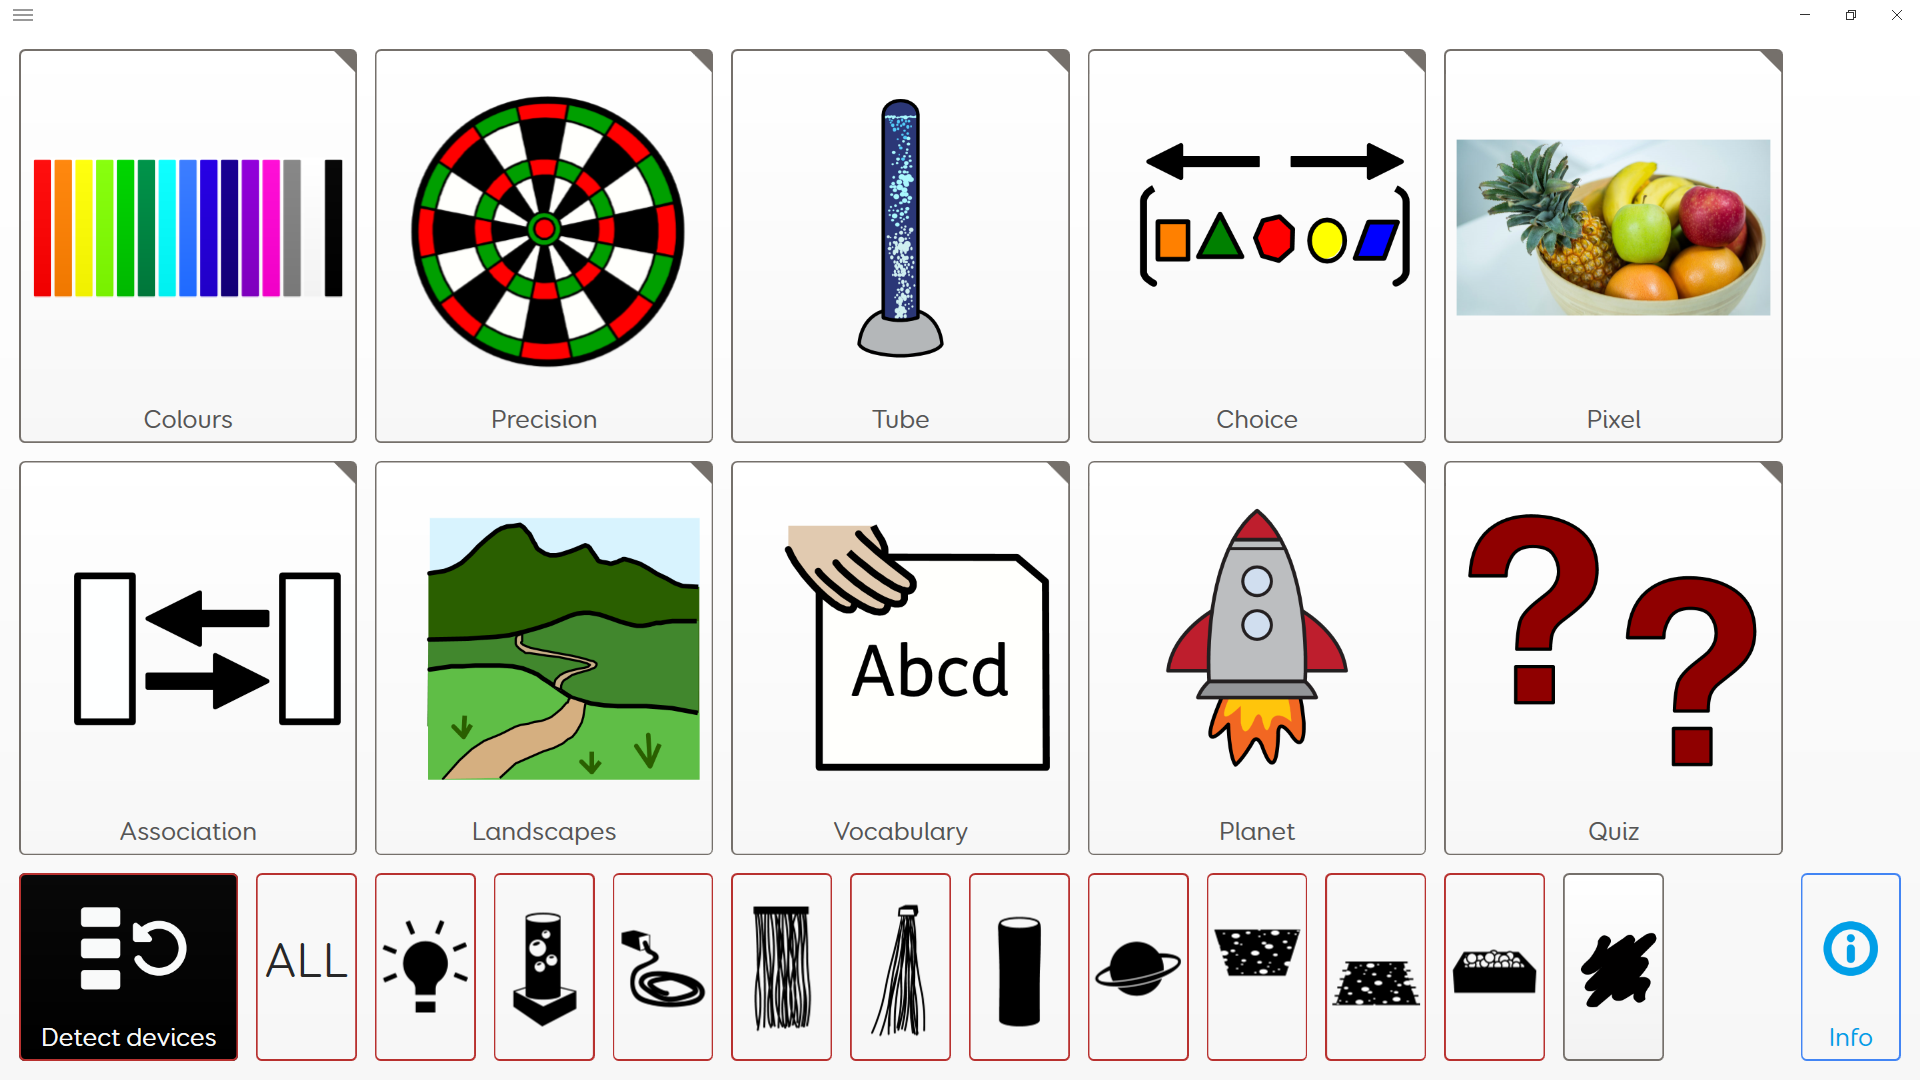
- After completing the steps outlined in the previous section, follow this link to download the Luminea Remote activity grid.
- Open the grid using the Grid 3 program. Go to Menu – Add grid – Grid files/Saved grids – Explore, and select the Luminea Remote grid that you have just downloaded.
- Before using it for the first time, press “Find devices” to allow the program to detect your Luminea devices.
Note: If you have an SHX sensory room, you must switch off your SHX device when you wish to detect the Luminea devices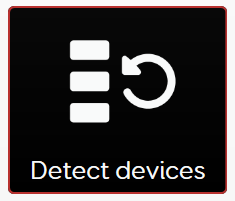
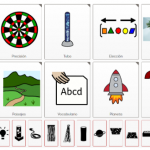
- When they have been detected, you can begin to control the lighting of your Luminea devices. This can be done from the main grid (where you can choose to activate and control the devices individually or all at the same time), or using the numerous activities that the grid has to offer.
How to create customized activities
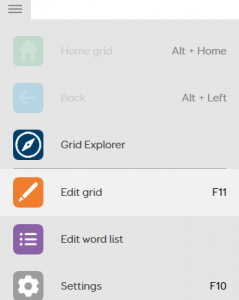
- Open the Grid 3 program and go into Edit Mode (Menu – Edit grid).
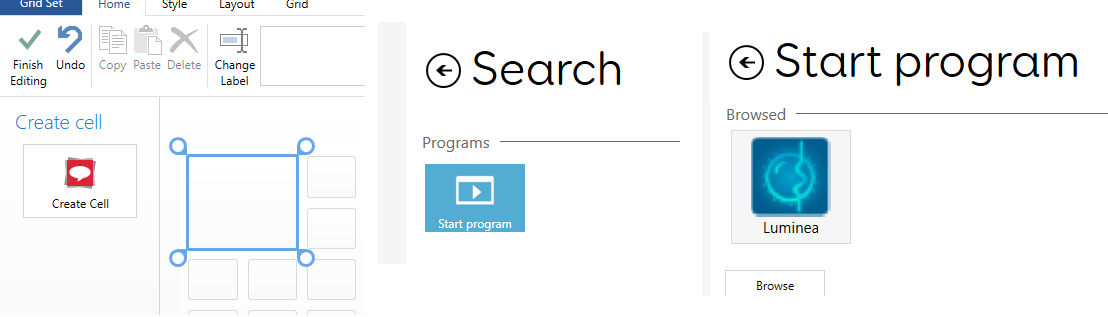
- Select a cell and click on “Create cell”. Use the commands to prepare your activity. Select the “Run program” command and then select the Luminea program from the file: C:\Program Files\BJLive!\Luminea Remote
- Then, introduce the action you wish to carry out in the “Parameters” dialog box:
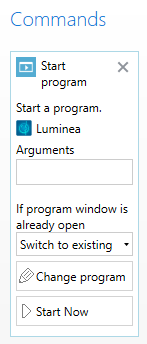
- Settings: Type in “Setup” to allow the program to identify the Luminea lighting devices. If you wish to eliminate any previous setting before adding new devices, type “Reset”. setup [reset]
setup [reset]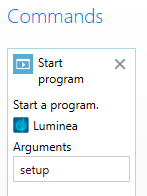
- Device: type in “device” followed by the device type to establish which device it will control (or if all the devices will be controlled together).
device (ALL | tube | fibre | lamp | planet | carpet | fountain | curtain | sky | pool | ledline)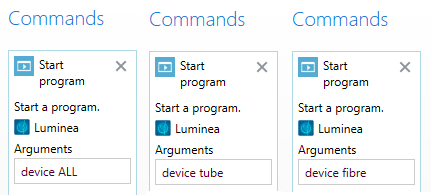
- Color: type in “Color” followed by the HTML color name (https://www.w3schools.com/tags/ref_colornames.asp) (blue, green, grey…) or the hexadecimal format preceded by # (for example, #FF00FF) to establish the color of the device light. Use the “auto” option to make the device gradually change color automatically. If the duration in seconds is added at the end, the device will switch off once that time has elapsed. color ( | | auto) [seconds]
color ( | | auto) [segundos]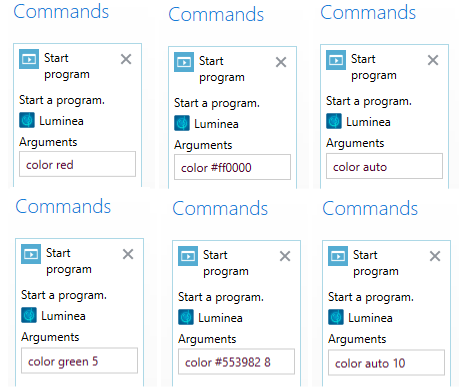
- Bubbles: To control the bubbles in the tube, type in “Bubbles” followed by the action you wish to carry out. If the duration in seconds is added at the end, the device will switch off once that time has elapsed.
bubbles (on | off | toggle | flop | flopping) [seconds]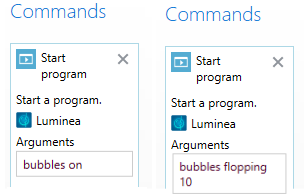
- Settings: Type in “Setup” to allow the program to identify the Luminea lighting devices. If you wish to eliminate any previous setting before adding new devices, type “Reset”. setup [reset]
How to use Luminea Remote with Communicator 5?
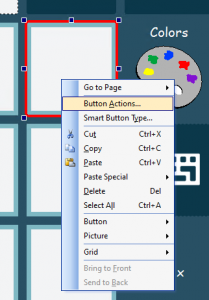
- Right-click or Control+m to bring up the menu, and select “Edit Page” to enter edit mode.
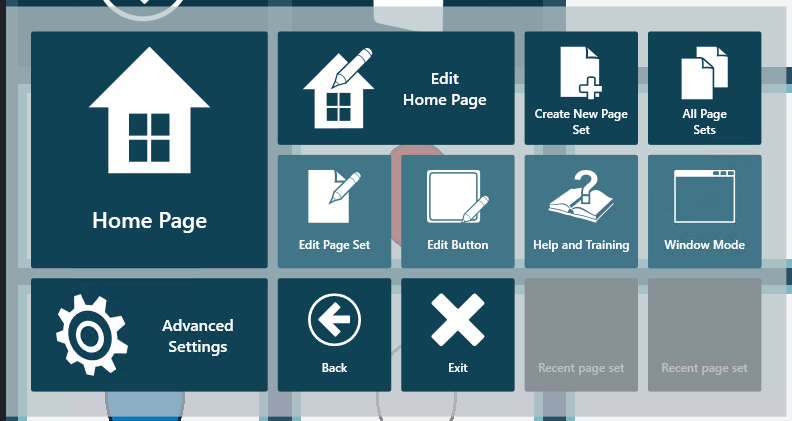
- Place your mouse over a button and select the “Button Actions” option.
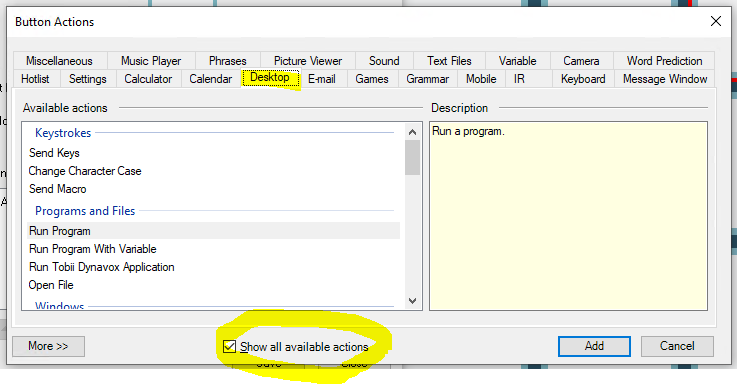
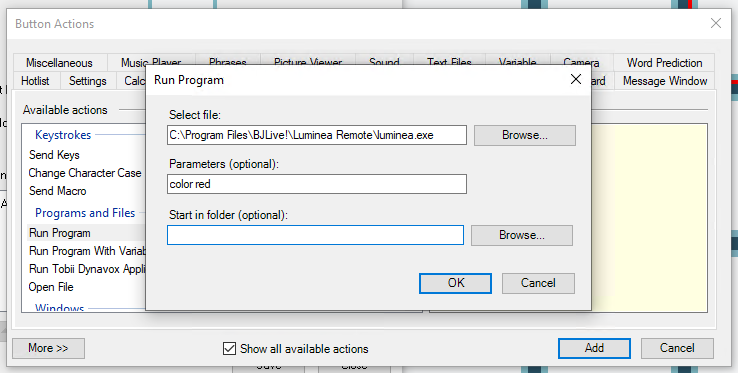
- Make sure that the “Show all options” option is activated to access the “Desktop” tab, and click on “Run program”. Next, choose the Luminea Remote program which will be in the folder: C:\Program Files “Luminea Remote”.
- Enter the action you want to perform (see terms or keywords to be used in the previous section) in the text field “Parameters”, e.g. red colour, or device tube.
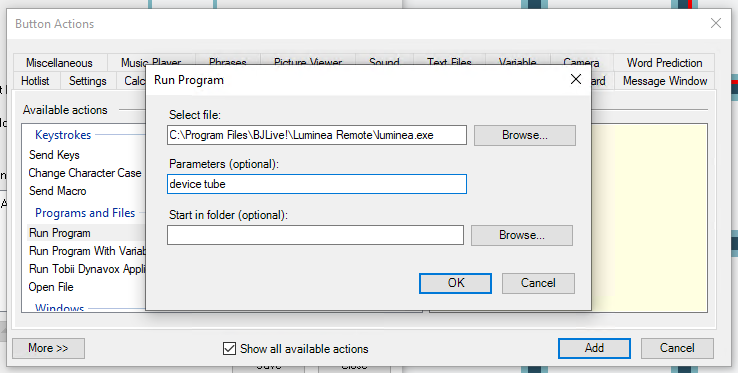
- Finally, you can customise the appearance of the button.
Luminea device Wi-Fi settings
Connecting Luminea devices to a Wi-Fi network from the Luminea app
If you are not using the router provided with the Luminea device, you will need to connect each of the Luminea devices to the available Wi-Fi network. Your tablet will also need to be connected to the same network.
To do so, follow these steps:
Once the app has been installed, and before launching it, make sure that:
- The tablet is connected to the same Wi-Fi network that you wish to connect your Luminea device to.
- The Luminea device is connected to the mains supply (once connected, wait 10 seconds until it no longer shines with white light). There is a strong Wi-Fi signal where the Luminea device is located.
- The Luminea device is not connected via DMX.
Follow these steps to connect your Luminea device to the Wi-Fi network:
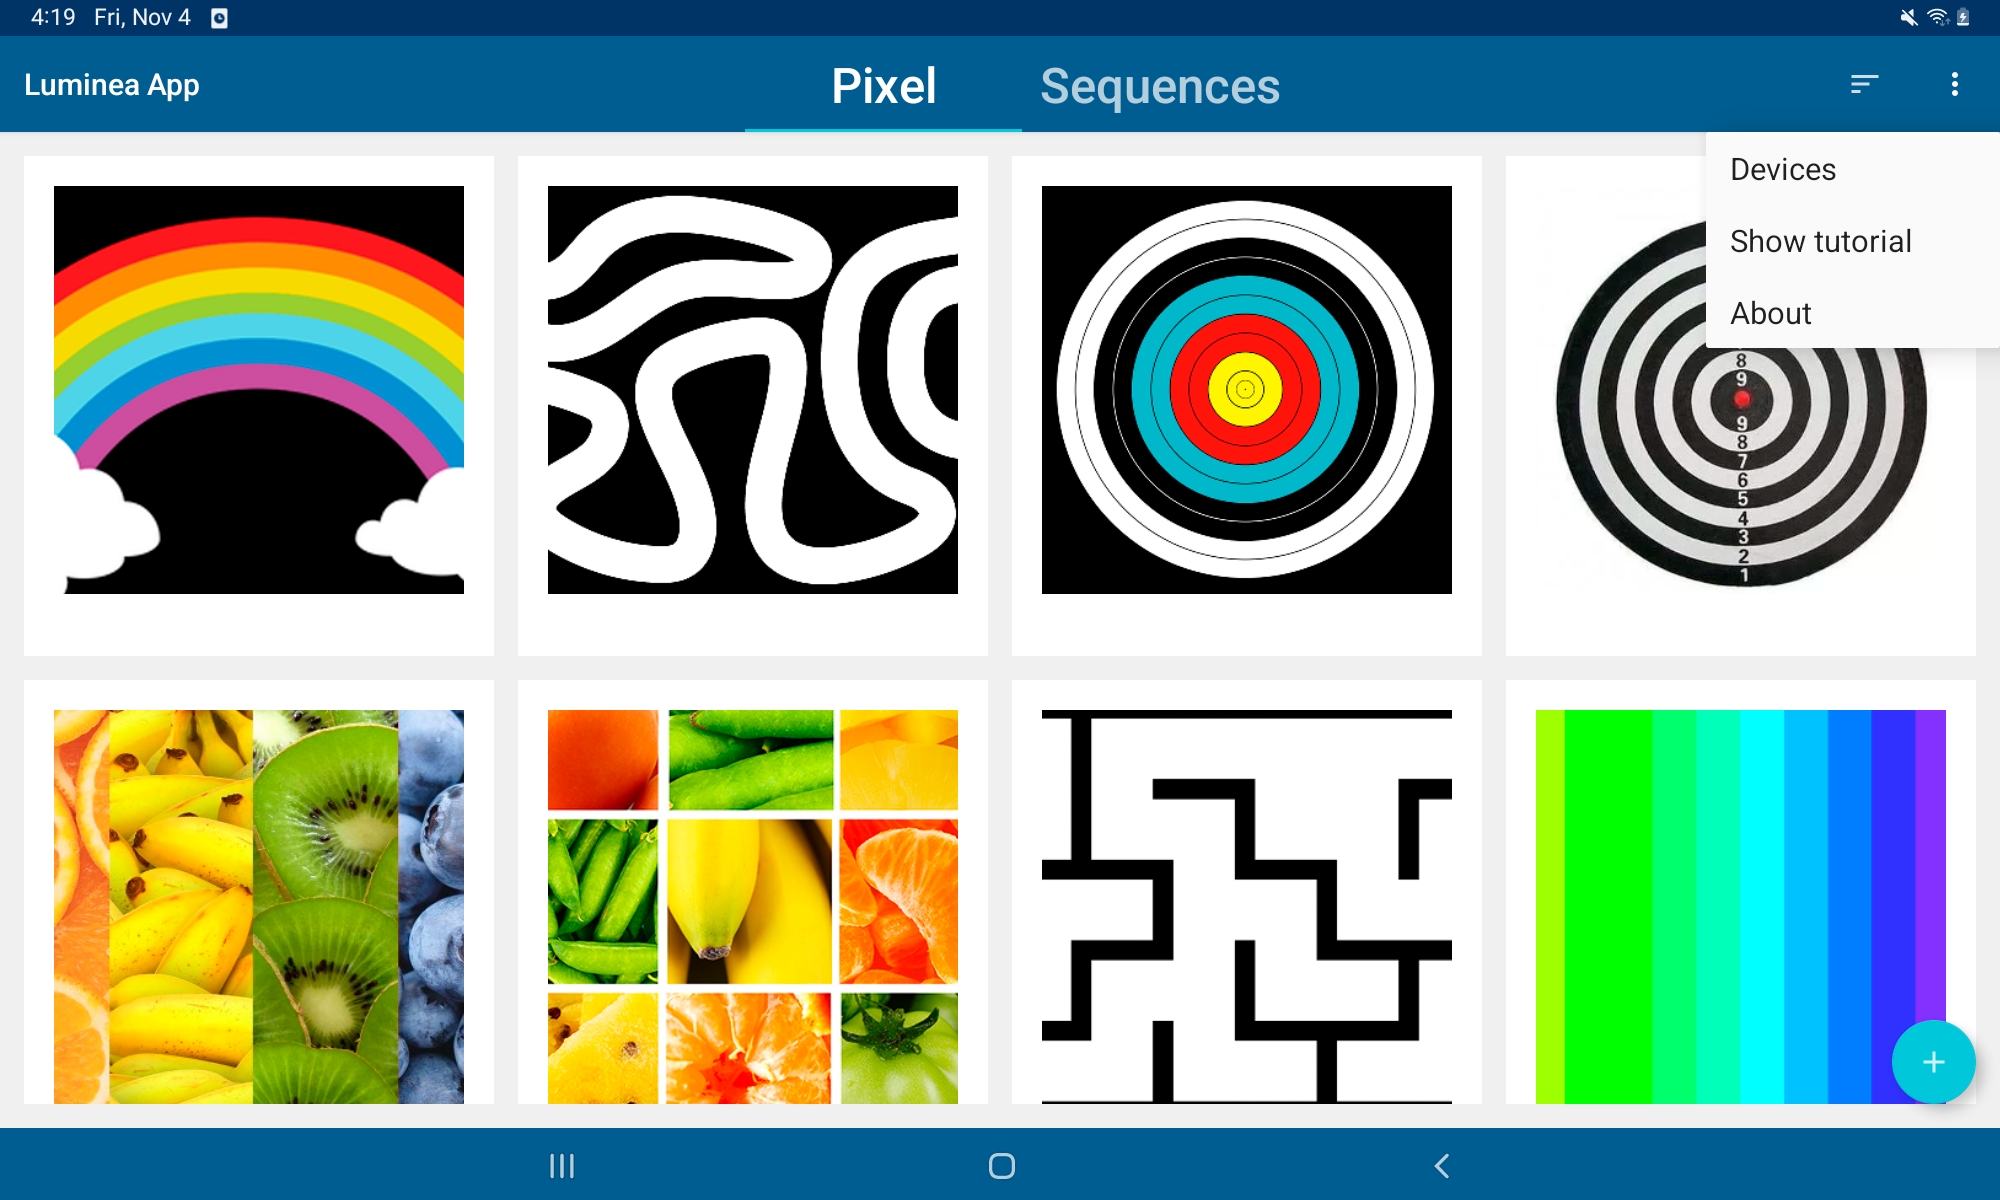
1.Open the Luminea app for Android in your tablet. If it is the first time you are using it, the app tutorial will run automatically.
2.Select “Devices” in the menu ( ) at the top right of the screen. If it is the first time you are accessing this screen, the tutorial will run automatically
3. Press the refresh button (🗘) to search for available Luminea devices nearby. In order to do so, you will need to allow location sharing the first time you use the app.⟲⟳

4. Luminea devices that have been detected and are ready for use will appear in the “Ready for setup” section. Your device may not appear at first. If your Luminea device does not appear after several attempts. disconnect it from the mains supply, wait for a few minutes, then reconnect it and try again.
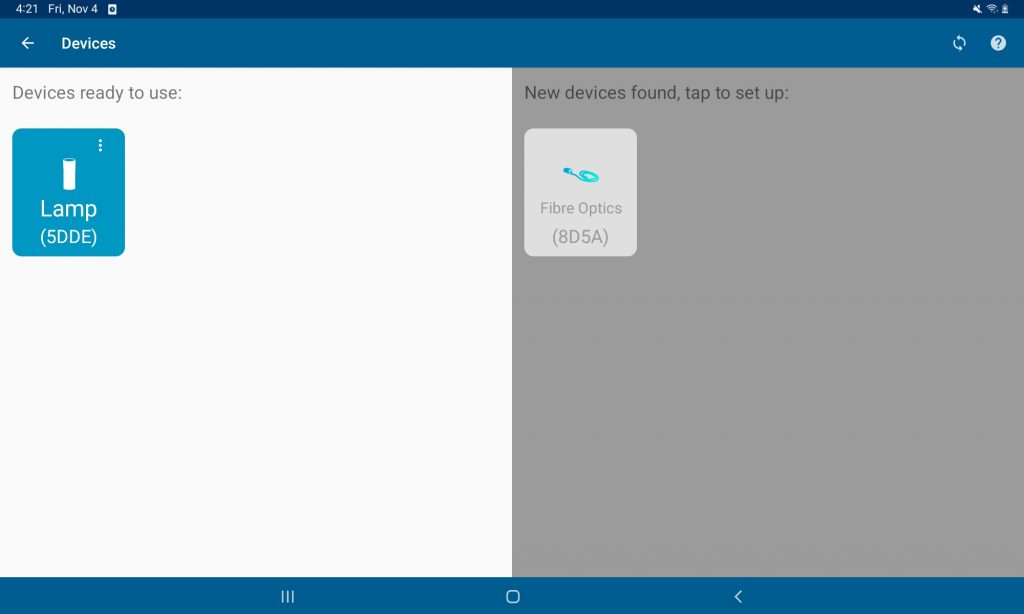
5. To adjust the Wi-Fi settings on another Luminea device that is shown as “Ready for setup”, touch the icon on the screen and follow the instructions that appear:
Step 1 of 3: Connect your tablet to the Wi-Fi network on the device you want to set up. The network name will appear on the screen “Luminea-XXXX-XX”.
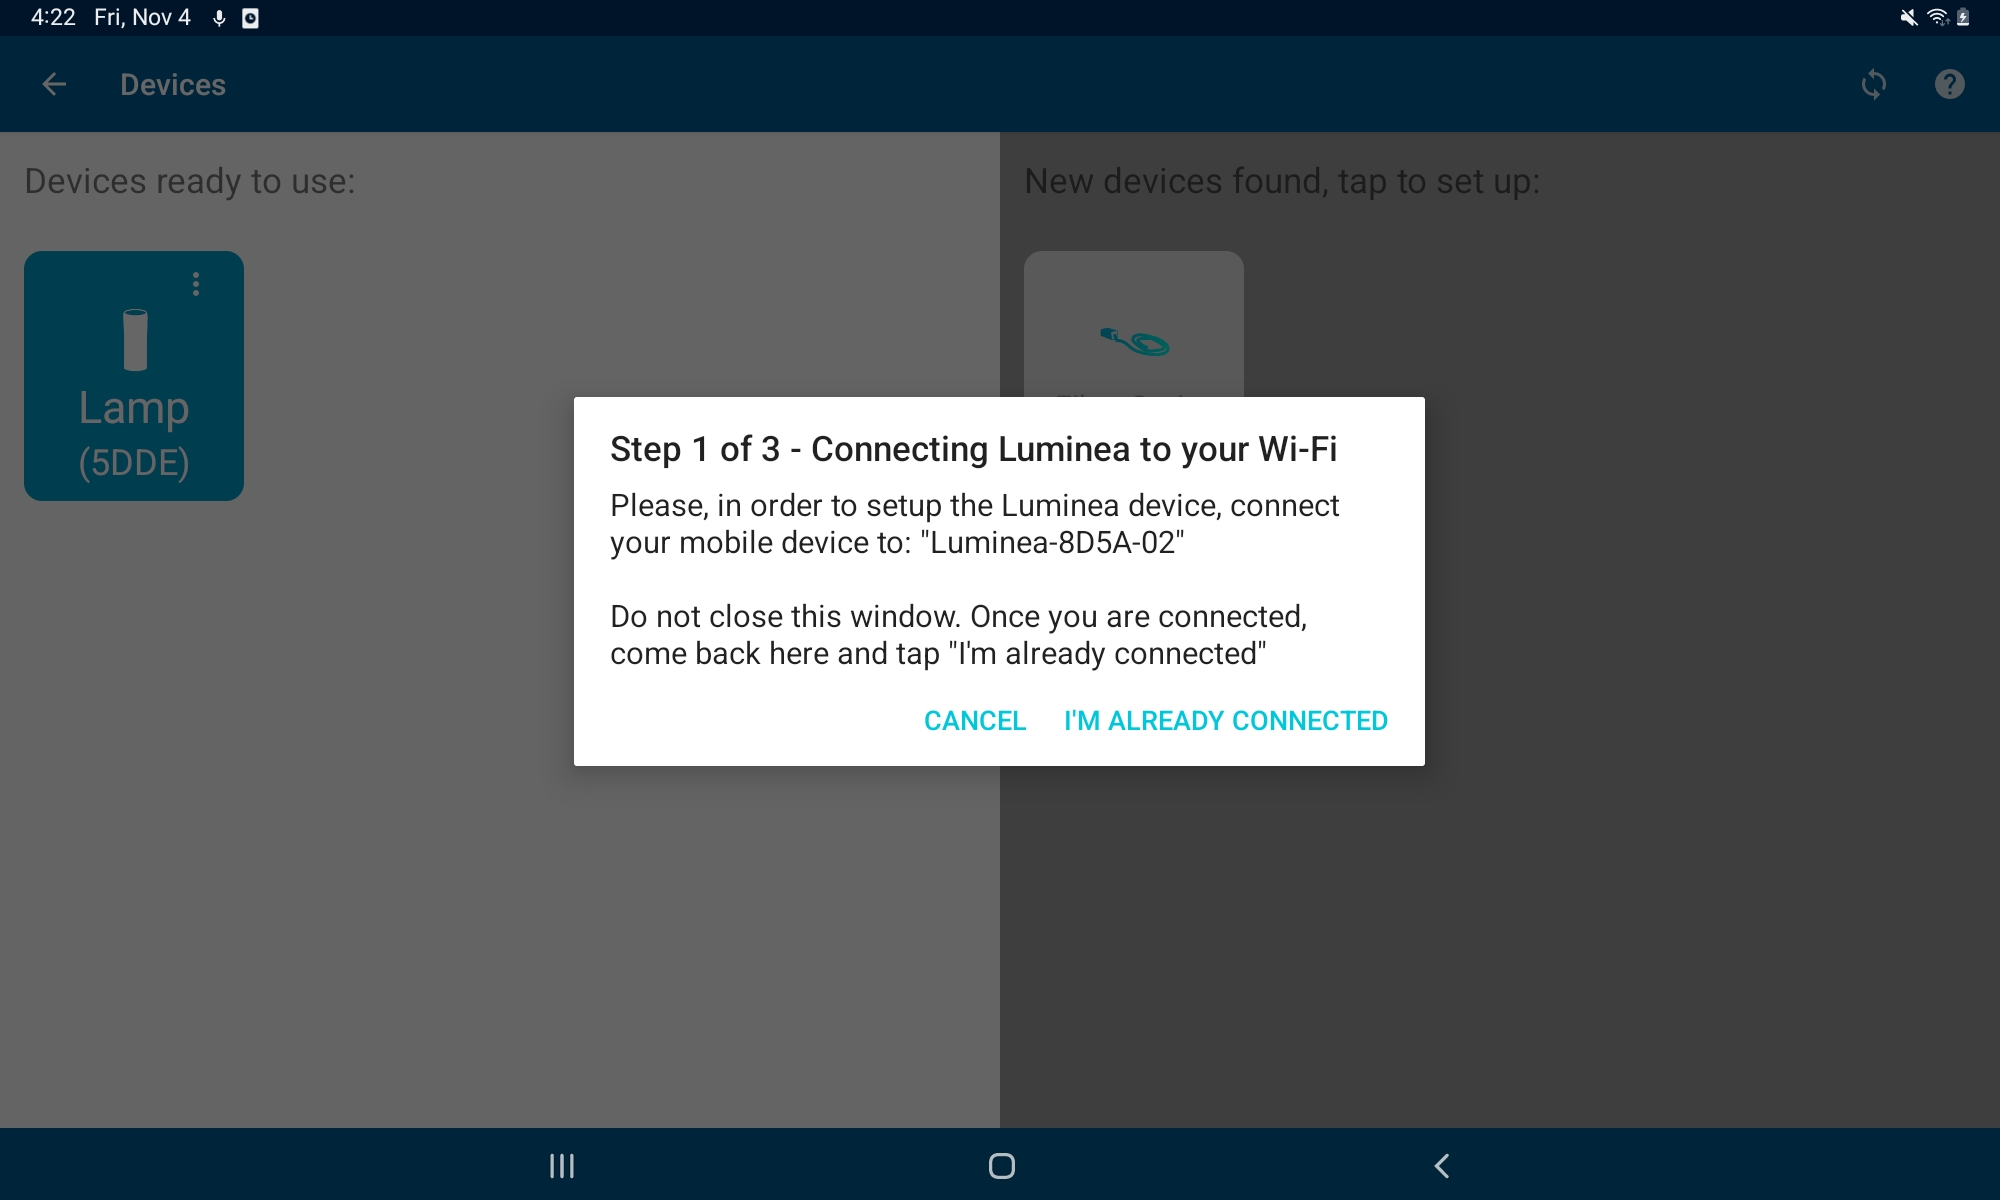
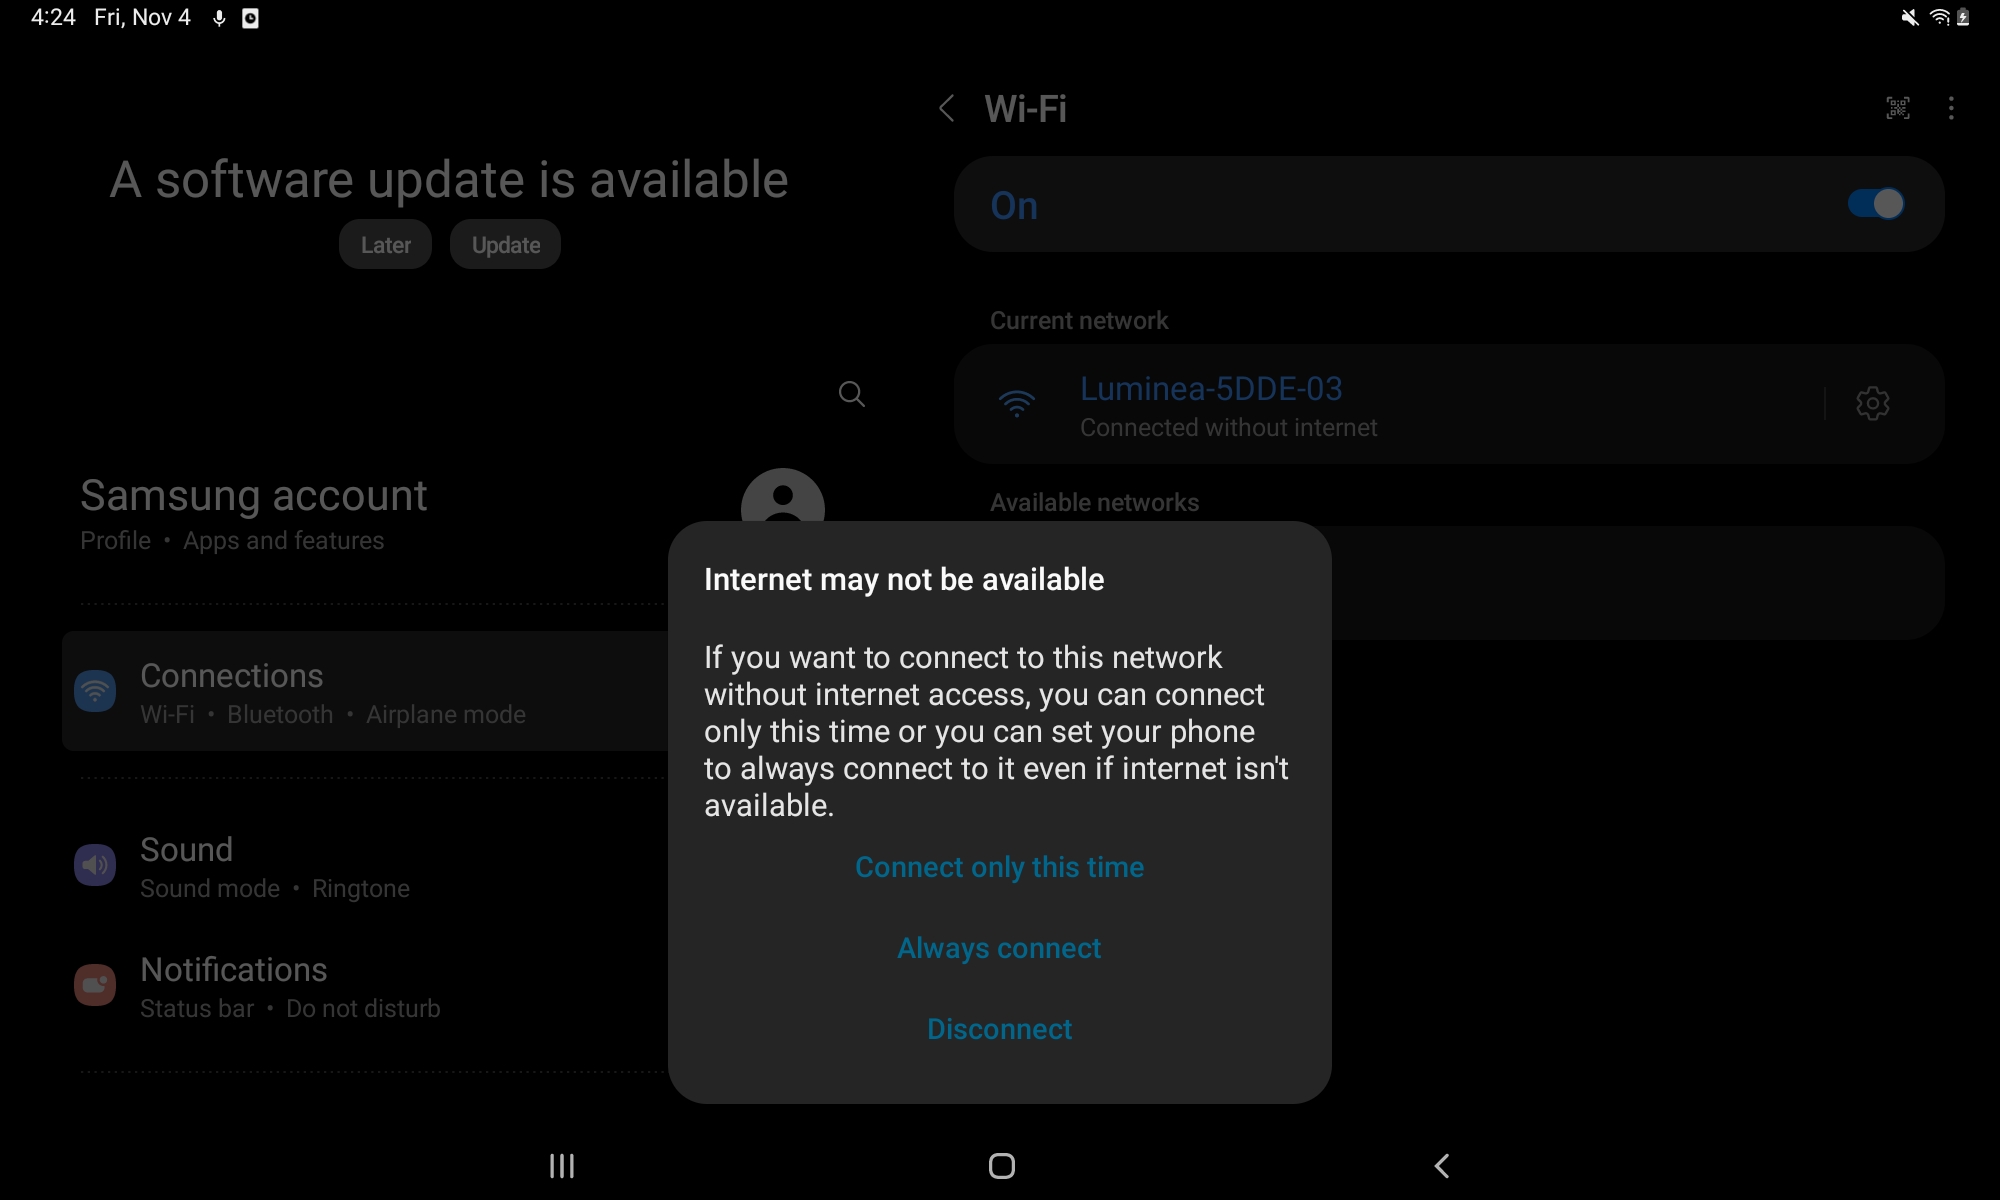
You may see a message stating that the selected network is not connected to the internet. If so, select “Maintain Wi-Fi connection”.
Connect your tablet to the Wi-Fi network on the device you want to set up.
Step 2 of 3: A dialogue box will appear, allowing you to select the Wi-Fi network you wish to connect your Luminea device to. It will request the network password.
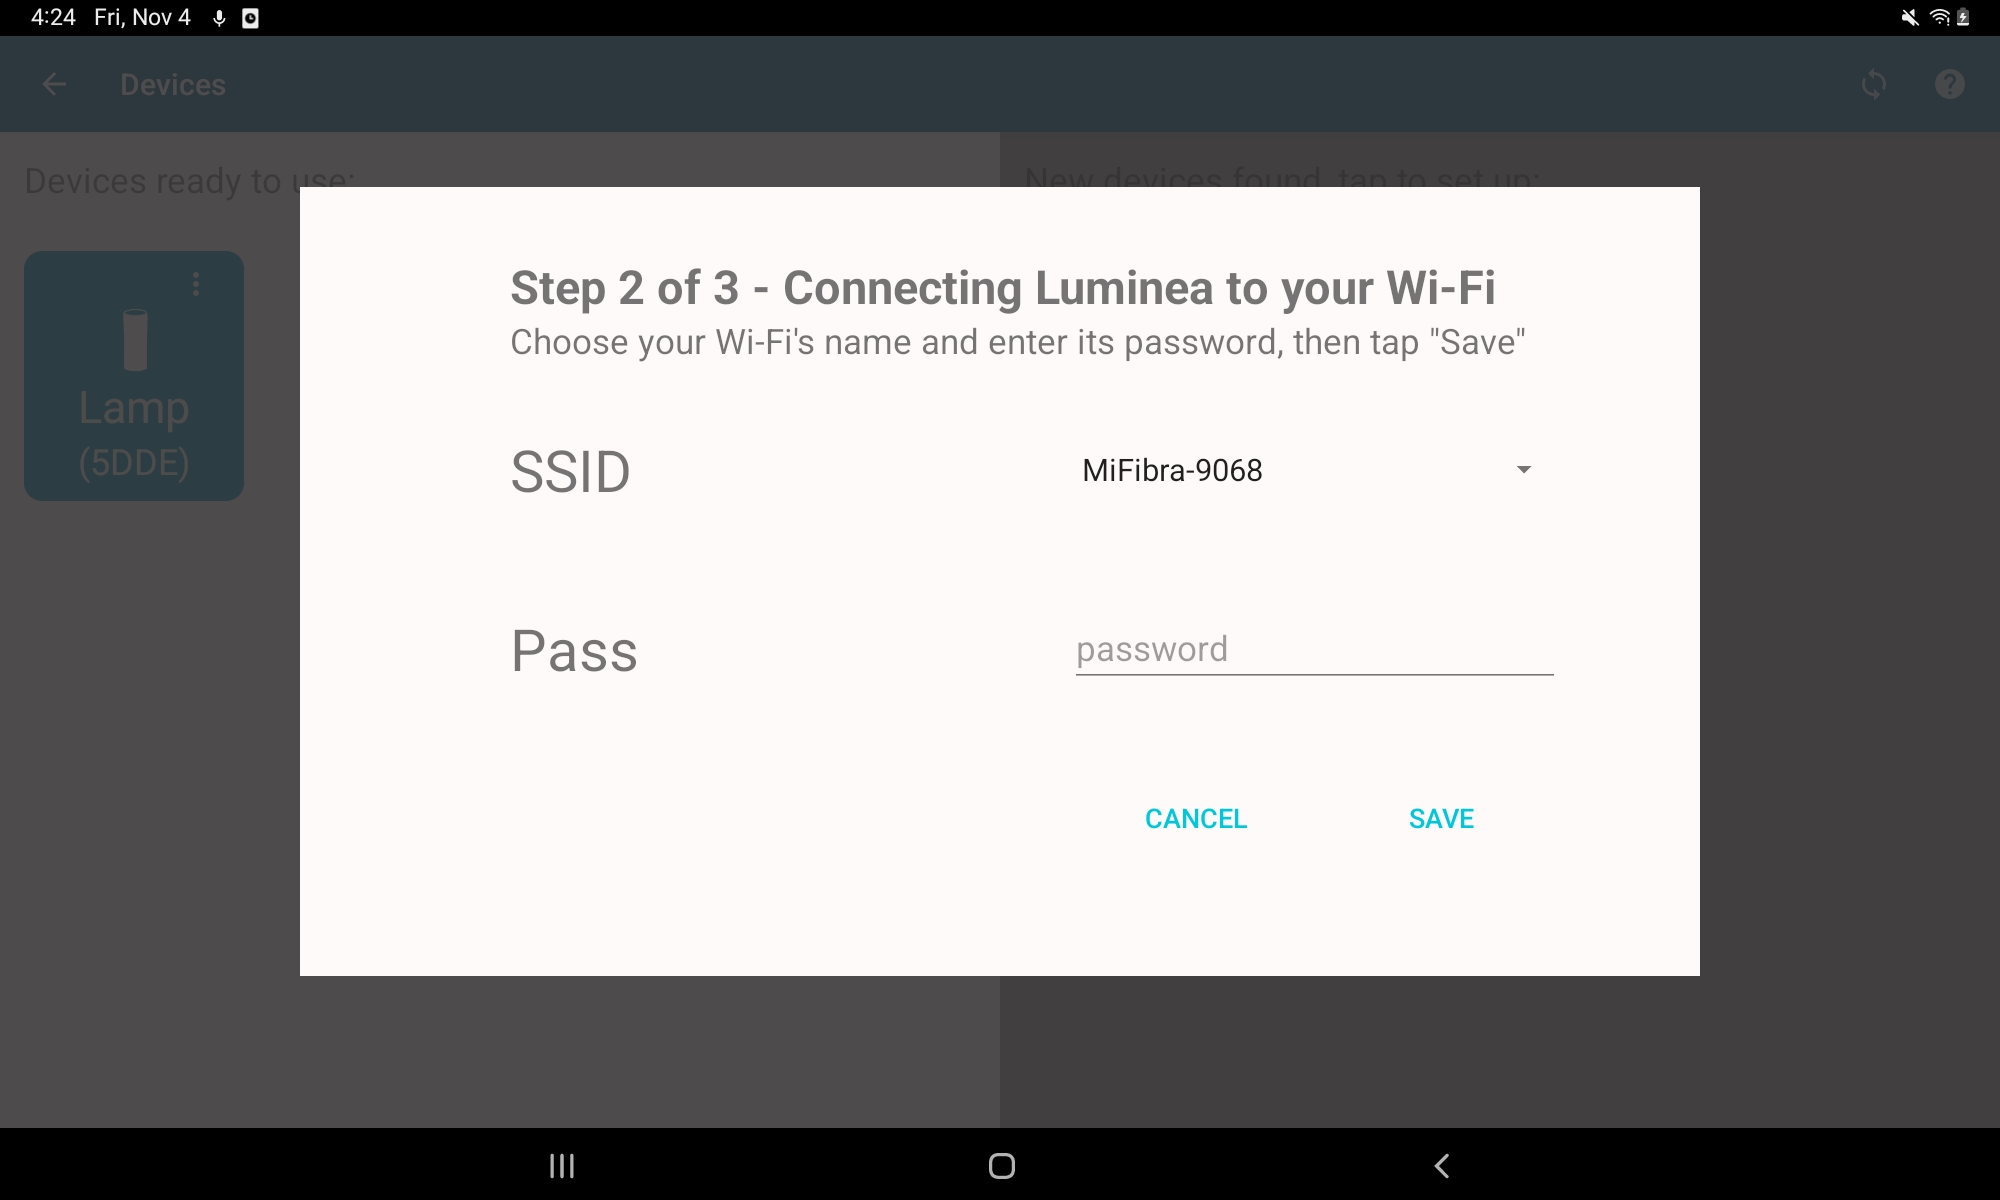
Once you have typed in the network information, press “Save”. This data will be sent to the Luminea device, which will connect to your network.
Step 3 of 3: Now, you can disconnect your tablet from the Luminea device’s Wi-Fi and reconnect it your own. Press “Accept” on the screen once you have done so.
6. The app will continue to scan for available devices. Your Luminea device will now appear as “Ready to use”.
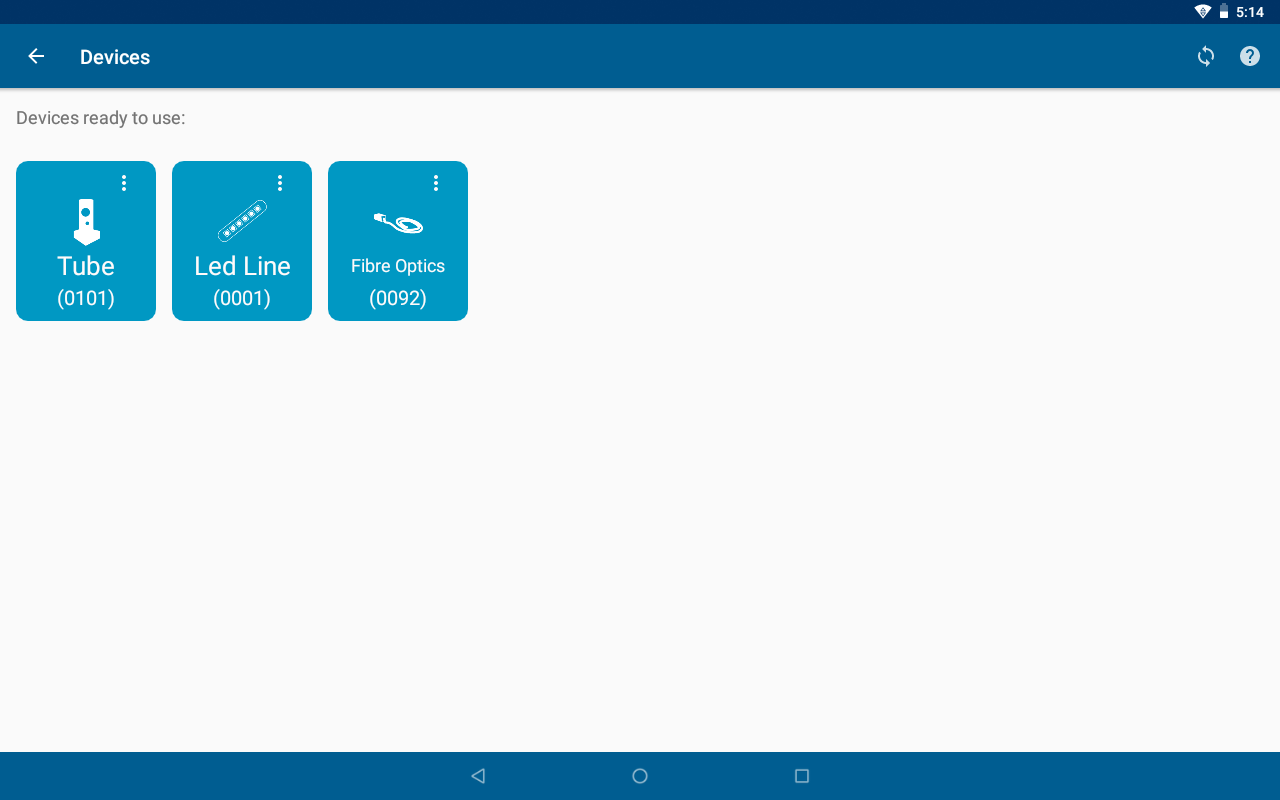
Repeat this process with all your Luminea devices.